Coming soon ... a mini collection for Purl Soho using Shepherdess Alpaca. (I'll tell you more soon!)
diy
Project Life + In the Spotlight /

I have a pretty simple, laid-back approach to documenting my family's photos and memories. I don't care if photos and elements match perfectly, but I want to tell the stories and make photo books that look cool. A crazy hodge-podge of memorabilia and drawings and photos is a-okay with me. And while I'm nowhere close to being caught up, Project Life keeps things doable and realistic for me.


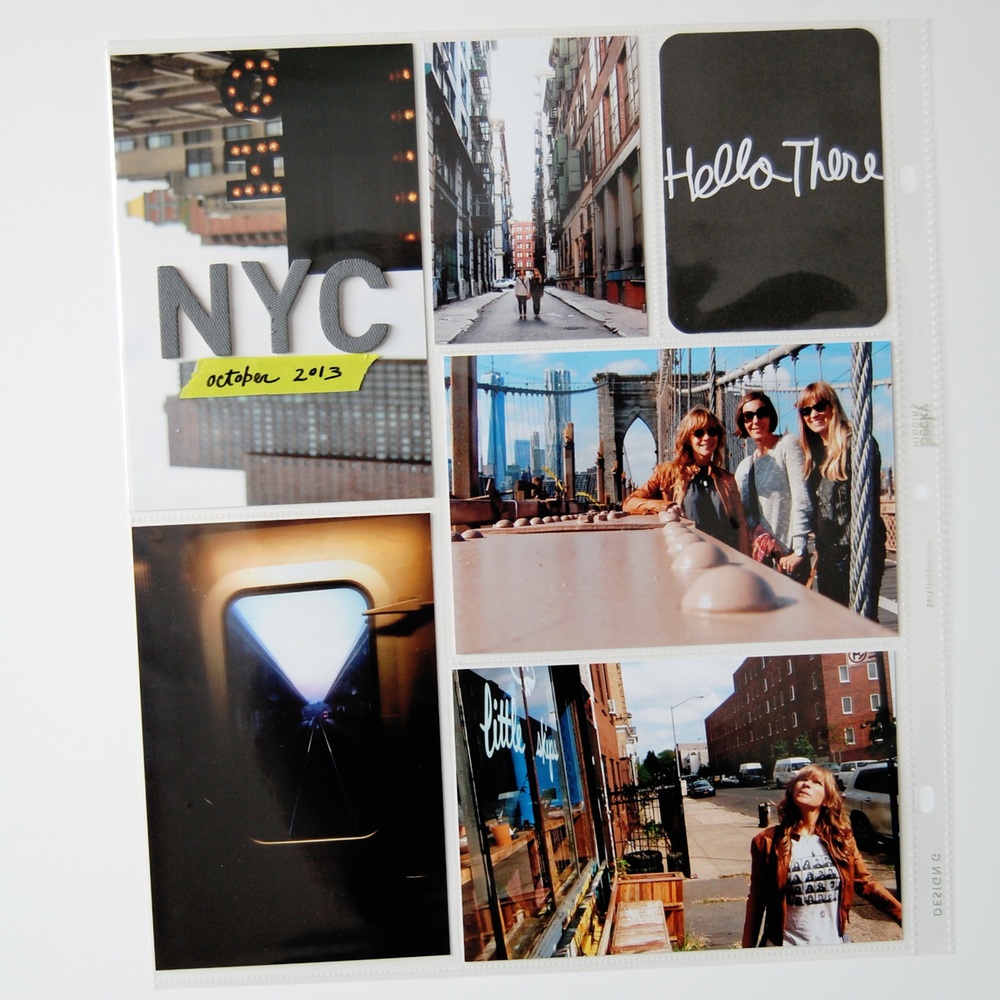


If you want to read a little bit more about how I do Project Life, check out my 'In the Spotlight' feature today on Becky Higgins' blog. Project Life has changed the way I scrapbook and has given me a new
outlook on what I can realistically document for my children, my family,
and myself. My love for scrapbooking is back.
Rainbow Loom Valentines (with free printable cards!) /
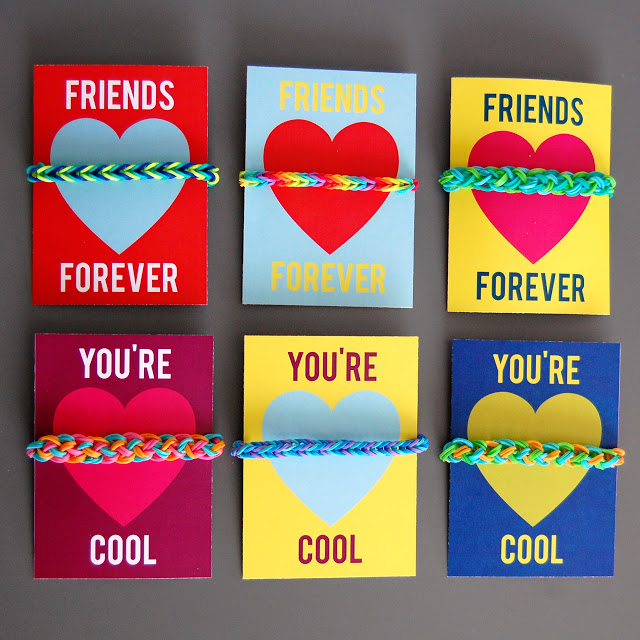
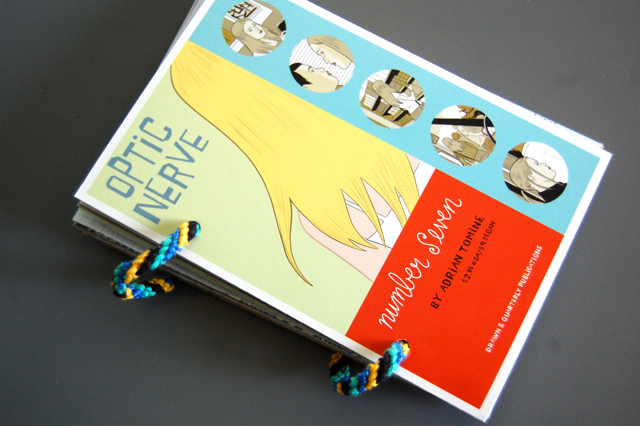
I haven't done a D.I.Y. here in awhile, but today I have a super fun one to share. Lotus has been a Rainbow Loom bracelet machine lately. And if your kids are as obsessed as she is, I have the perfect Valentine project for you. To make V-Day a piece of cake this year, I've designed some colorful printable Valentine cards and you can download them for free!

Everyone loves getting a friendship bracelet, and Valentine's Day is the perfect time to share the love. Get your kids to whip up a Rainbow Loom bracelet for each of their
friends. Then download and print these Valentines onto letter-sized card stock. Trim them to size and you're practically done! I used a paper punch to make half-circle notches on the sides of the card to help hold the bracelets in place, but you can skip this step if you want. I'm pretty confident the rubber bands would stay in place without the notches.

Easy and fun. Your kids will think these Valentines are cool and you won't have to buy a whole bag of candy. (Win!)
Download the cards here:
You're Cool - set of 4 printable Valentines
Friends Forever - set of 4 printable Valentines
These Valentines are for private use only. Please don't re-distribute. When
showing them on your blog or website, please credit HeyJenRenee and link back to
this post (not directly to the file downloads).
Enjoy!
Enjoy!
A few more of my favorite things. /

We're down to the wire, folks – there are only nine days until Christmas! But I love taking in all of the holiday fun and celebrating the season with the people around me. I think the kids and I will be baking cookies tonight and I can't wait. I also can't wait to show you some of my favorite holiday-related things. Like the cool customizable holiday prints from my friend Chrissy at Domestica, shown above. (They're on sale for only $10!) Read on to see more of my faves.

Adorn your tree with these geometric ornaments from SketchInc.

I love Purl Soho's beautiful Learn to Knit kit.

Who can resist these bold black and white gift tags and gift wrap (that you can download for free) from Hey Look?

These bright and lovely felt ornaments from Purl Bee are a treat.

And after running into Oliver Jeffers at a book signing in NYC a few months ago, I have become obsessed with his books. I'm giving a copy of The New Sweater to the kids for Christmas. If you want to see how cool and talented this guy is, watch this video.

If you have a skater in your life like I do, check out the re-issue skate decks, the documentary and skate gear featuring everyone's favorite skateboarding legends at Bones Brigade. You can even download a free copy of Animal Chin. Which is completely awesome.

Everyone loves Field Notes. And Field Notes pens. And Field Notes pencils.


And last but not least, more free printable gift tags from Hey Look. I found these a couple of years ago and they've been my favorite ever since.
Hope you're taking a minute to embrace and enjoy all of the holiday-ness these last few days before Christmas brings. It's a busy time but always so much fun! Enjoy.
hello, Stitch. /
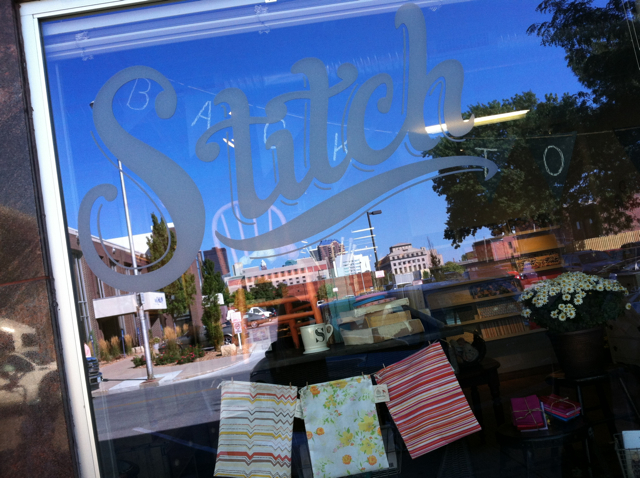
Have you stopped by Stitch yet, Des Moines friends? It's a brand new fabric, yarns, and needlecrafts shop in the East Village. You need to go because it's amazing. Last week, a couple of friends and I stopped by to check everything out and we were pretty excited about every single thing we saw. Take a little tour with me.
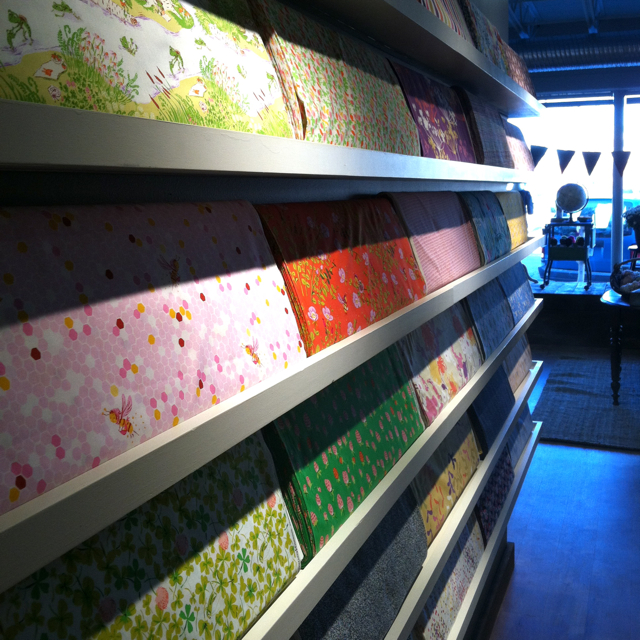

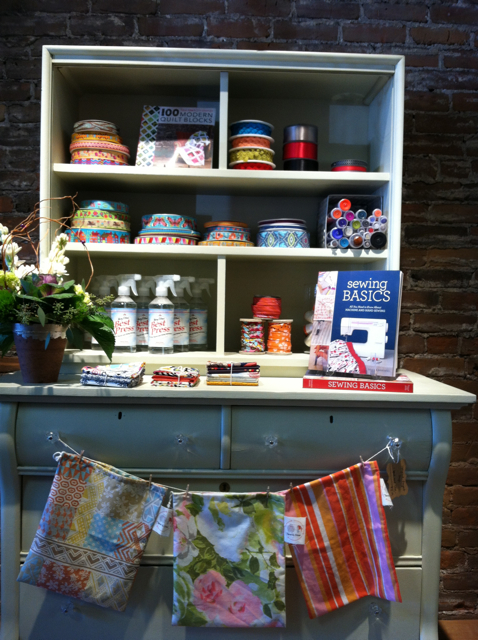
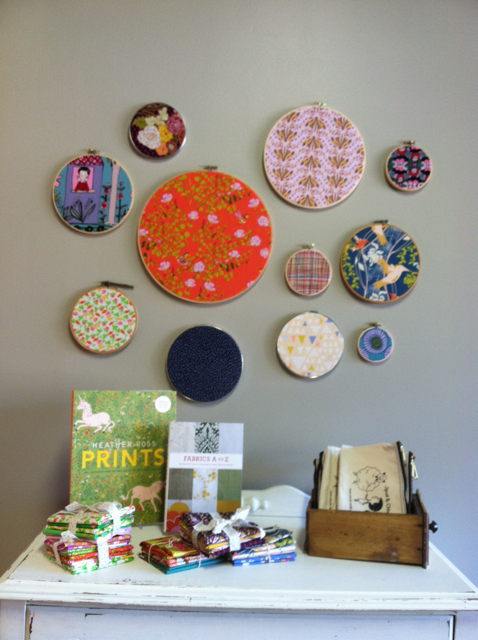

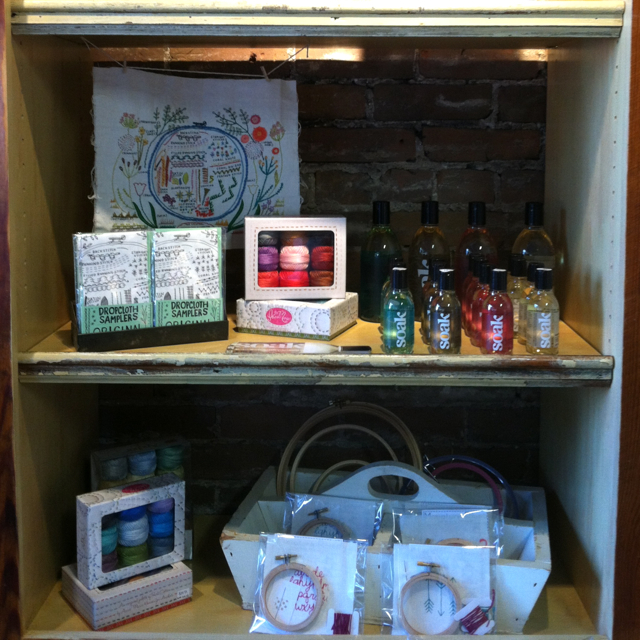
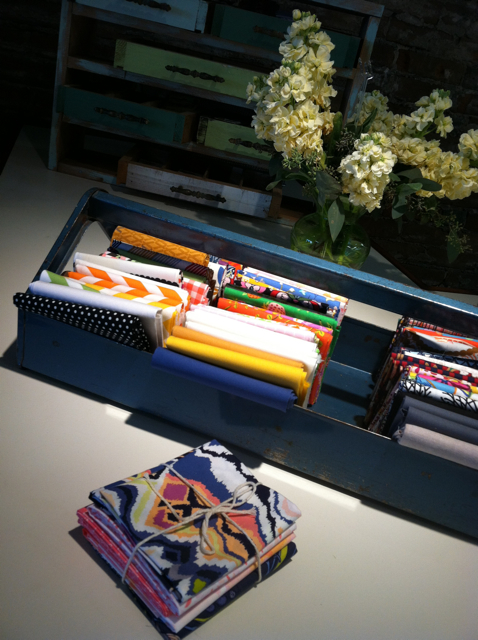
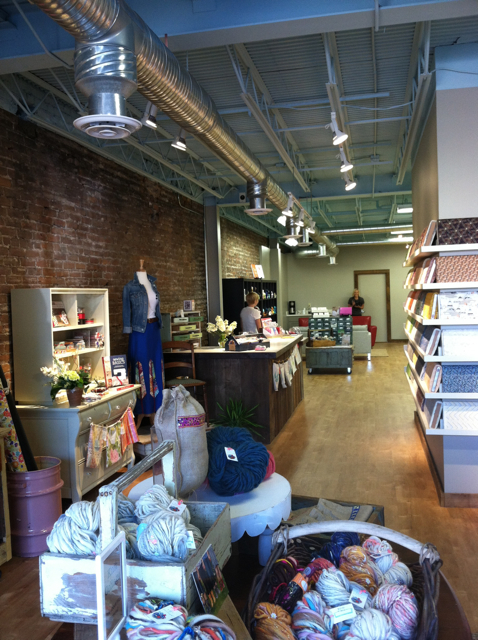
Tonight at 6 p.m. is Stitch's official grand opening party, which makes it the perfect time to go and see everything for yourself. The shop owners are so incredibly nice, so be sure to say hello. And go ahead and check out their website, Facebook page and Instagram feed while you're at it, because you'll want to see what they're up to in the months ahead. Brand new fun and exciting crafty things in our city – thanks ladies! I know a lot of people are pretty excited about this.
summer love /

Hello paper, nice to see you again.
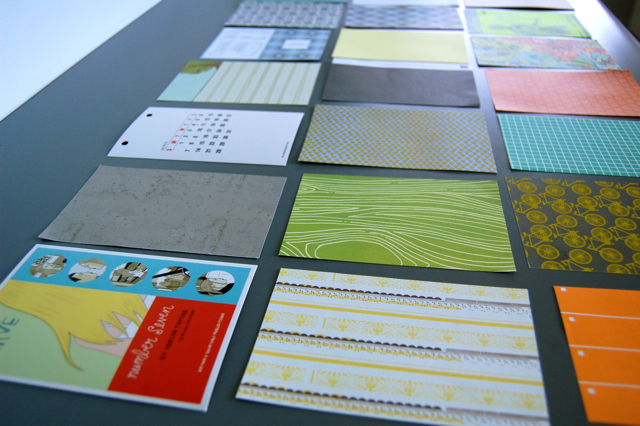
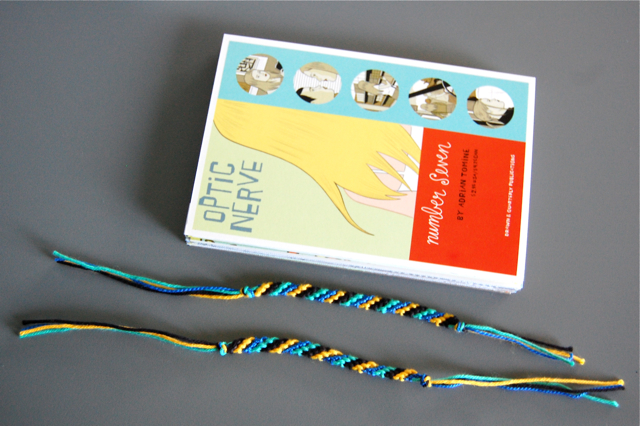
Remember me mentioning Kara Haupt's Summer of Love e-course awhile back? Here's what happened after I sat down and looked through a stack of papers, trimmed them up and then reverted to a 7th grader and made friendship bracelets to tie everything together. (What are you up to these last days of summer?)
five-minute project: shadow box /

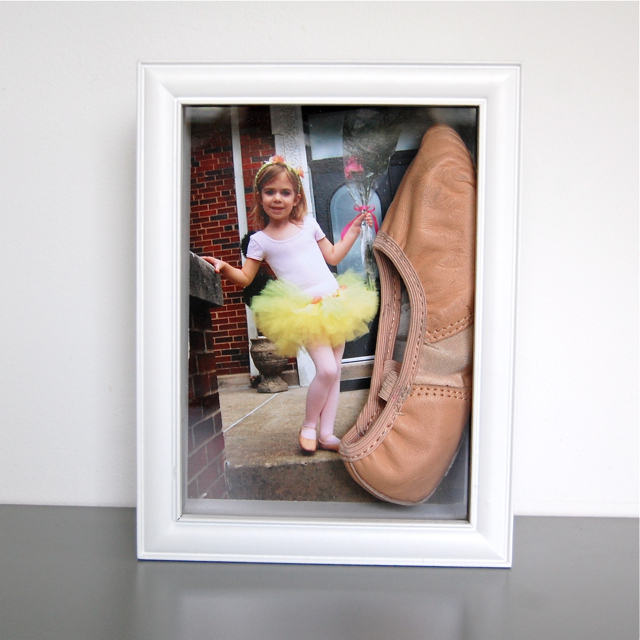
This is a project that I have been putting off forever, but it only took a couple of minutes to complete. Not even five minutes ... like, two minutes. Anyway, you get the picture. A small (but deep) shadow box, a photo from Lo's first dance recital and her very first pair of ballet slippers that she has now outgrown. Add these things together and we have a sweet and simple keepsake to display in her room.
If this kind of thing appeals to you, you must check out Darcy Miller's scrapboxes. She's been featured on Martha Stewart crafts and her stuff is so good. She has assembled several fantastically cool shadow boxes that include mementos like tiny white baby onesies, seashells from the beach, a baby's first stuffed animal, memorable pieces of art and favorite bedtime stories. Super sweet and so easy to do. Check this stuff out for sure.
block party /

It has been terribly dreary and gloomy, stormy and rainy in this part of the world lately. Will the rain ever stop? We are not sure. So I thought I'd give us all a little dose of color today. Hopefully, this will do the trick.

This is one of our most recent rainy-day projects. I can't get enough of the Kid Made Modern craft sets. This one is called 'Block Party' and it provided days of fun.

Paint a little, let it dry. Have a snack. Come right back. Paint a little more.

Paint a tiny building.

Or a little sailboat.

Paint with rainbow colors. Anything goes.

Such a simple idea, and what a fabulous result. Mini works of art that become a tiny city. Little canvases to build with. If you're in the market for some rainy day fun, grab some Kid Made Modern art supplies or kits at Target.
Check out some of our other adventures with Kid Made Modern right here.
 |
| Paper Tape + Book Project |
 |
| Charley Harper Bird Mobile |
scooter mobile DIY /
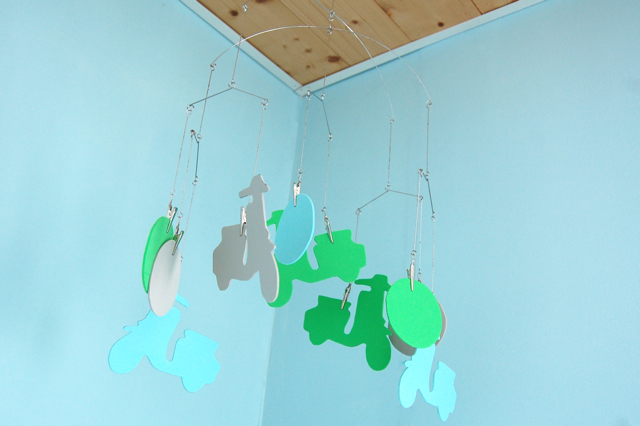
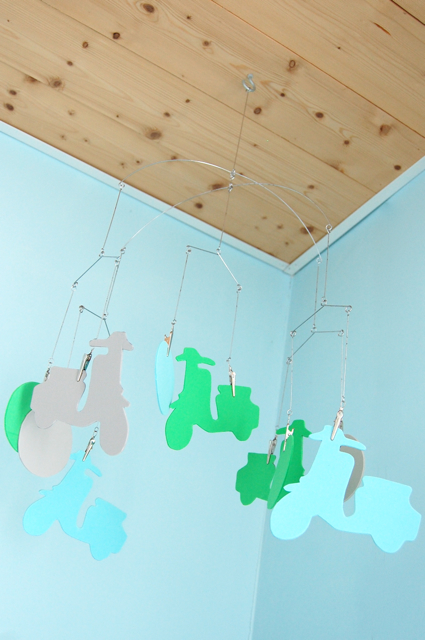
My latest baby-related project is this Vespa/scooter mobile. (Because if this little dude is going to be anything like his dad, he'll probably spend his nights dreaming of scooters.) It was a simple project to make, for a child's room or any room in your house, and you only need a few supplies.
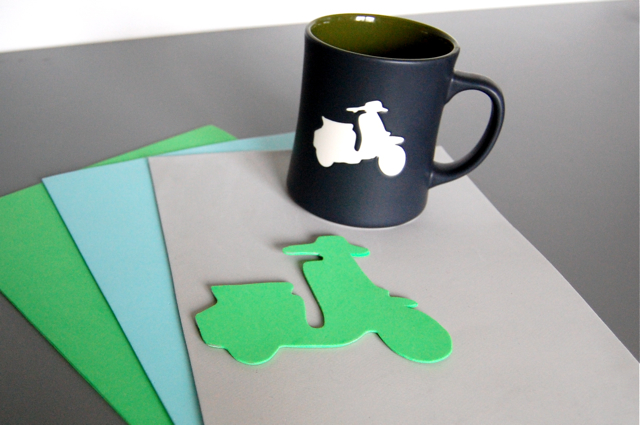
Start with three to four sheets of coordinating craft foam. (Craft foam, you say?) Yeah. It sounds weird, but when you neatly cut craft foam into shapes and then hang them from the ceiling, they totally look like they're made from plastic or wood or something entirely different. Another bonus to craft foam (besides the fact that it's so inexpensive) is that it is really light-weight, so the mobile will turn and spin easily if there's a bit of airflow in your room. Along with the craft foam, you'll need to come up with a simple shape or two and make a template. I free-handed this template onto cardstock and cut it out, using the Lambretta on this mug from Starbucks as a guide. But you can also raid children's coloring books or look online for simple clip art/silhouettes that you can trace to make your template. Each shape should be about 3 to 4 inches wide, and different sized shapes (some small, some larger) will work well together.
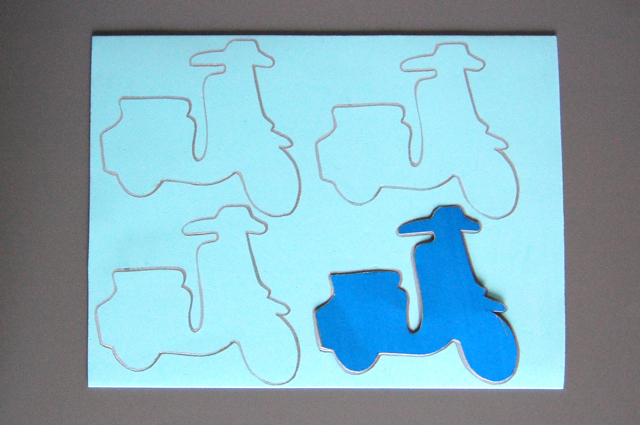
Then, use your cardstock template to trace the images onto the craft foam, and cut them out using a sharp scissors.
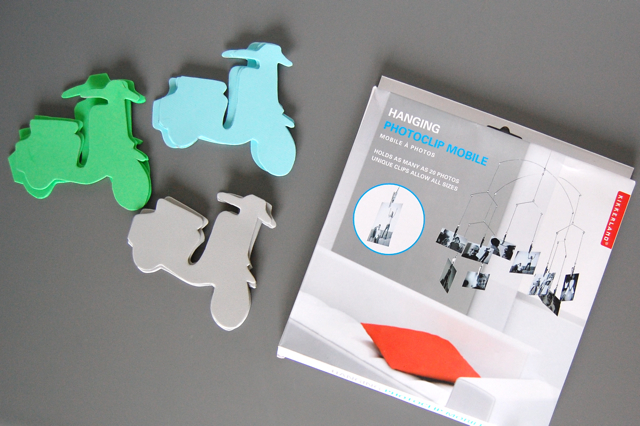
Take your little fleet of Vespas (or what-have-you) and clip them to your mobile and that's pretty much it! The mobile I used here is a Kikkerland hanging photoclip mobile, but you can find similar clip mobiles anywhere and they're really inexpensive. (Plus, you can change it up any time you want.) Add the $10 mobile plus three or four sheets of craft foam and you've got a pretty spiffy little customized mobile for less than $15.

Saftey note: this mobile is not meant to hang near the crib or low enough where a baby could reach it. Ours is hung high on the ceiling above the crib to keep it safely out of reach. (The last thing I want to do is go into my baby's room only to find a foam Vespa in his mouth. Um, yeah.)
That's it! Lo has requested some pink and orange butterflies and birds for her room, so that's what I'll be making next. Hope you have fun making your own mobiles. :)
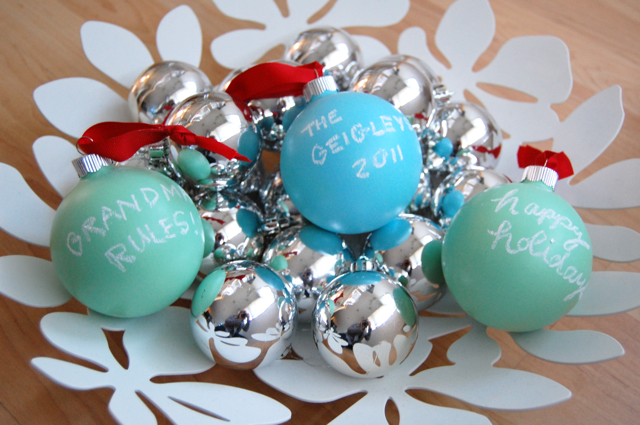
chalkboard ornament DIY /
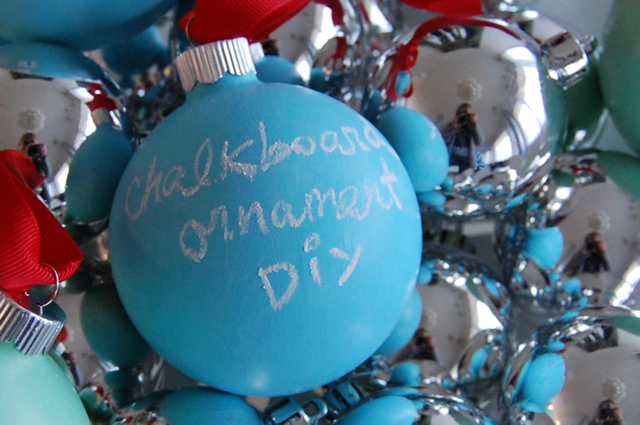
DIY chalkboard ornaments! So much fun. So, I was having one of those days where random craft supplies were jumping into my cart. Calling out to me. Like, 'You don't need me ... but you really want me.' And one of the craft supplies that was tempting me was this Martha Stewart Crafts chalkboard paint. It was right there on the shelf with its cute packaging in my two most favorite colors. So I grabbed it. Along with some plain frosted glass ornaments. And that pretty much explains what's going on here.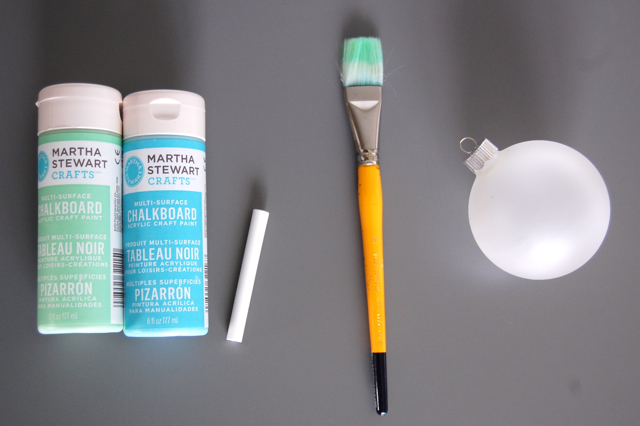
It's the easiest of easy DIY ornament projects you'll find this season. (And there's something weirdly soothing about painting on glass ... I don't know. It's just fun?) You'll need Martha's multi-surface chalkboard paint (I grabbed the mint green and light blue, but it's also available in gray and black,) a soft paint brush or sponge brush, a glass ornament and some chalk. I used inexpensive frosted glass ornaments, just because I thought they might take the paint a little better than a regular glass surface. But I'm sure this project would work on normal glass as well.