

If you've been following me on Instagram, you might already know the bento is back! This year I'm back to packing school lunches for my two kids (after a short hiatus.) And I'm having so much fun. Last week, I made these Harry Potter and Mario-themed lunches for their first day. And after I posted this pic on social media, I got a TON of questions!
So, I'd like to share my favorite, most-used bento supplies right here ... and a few things that I bought over the years and haven't used very often. Let's take a look.
(Disclaimer: The links in this post contain affiliate links and I will receive a small commission if you make a purchase after clicking on my link. All opinions are my own.)
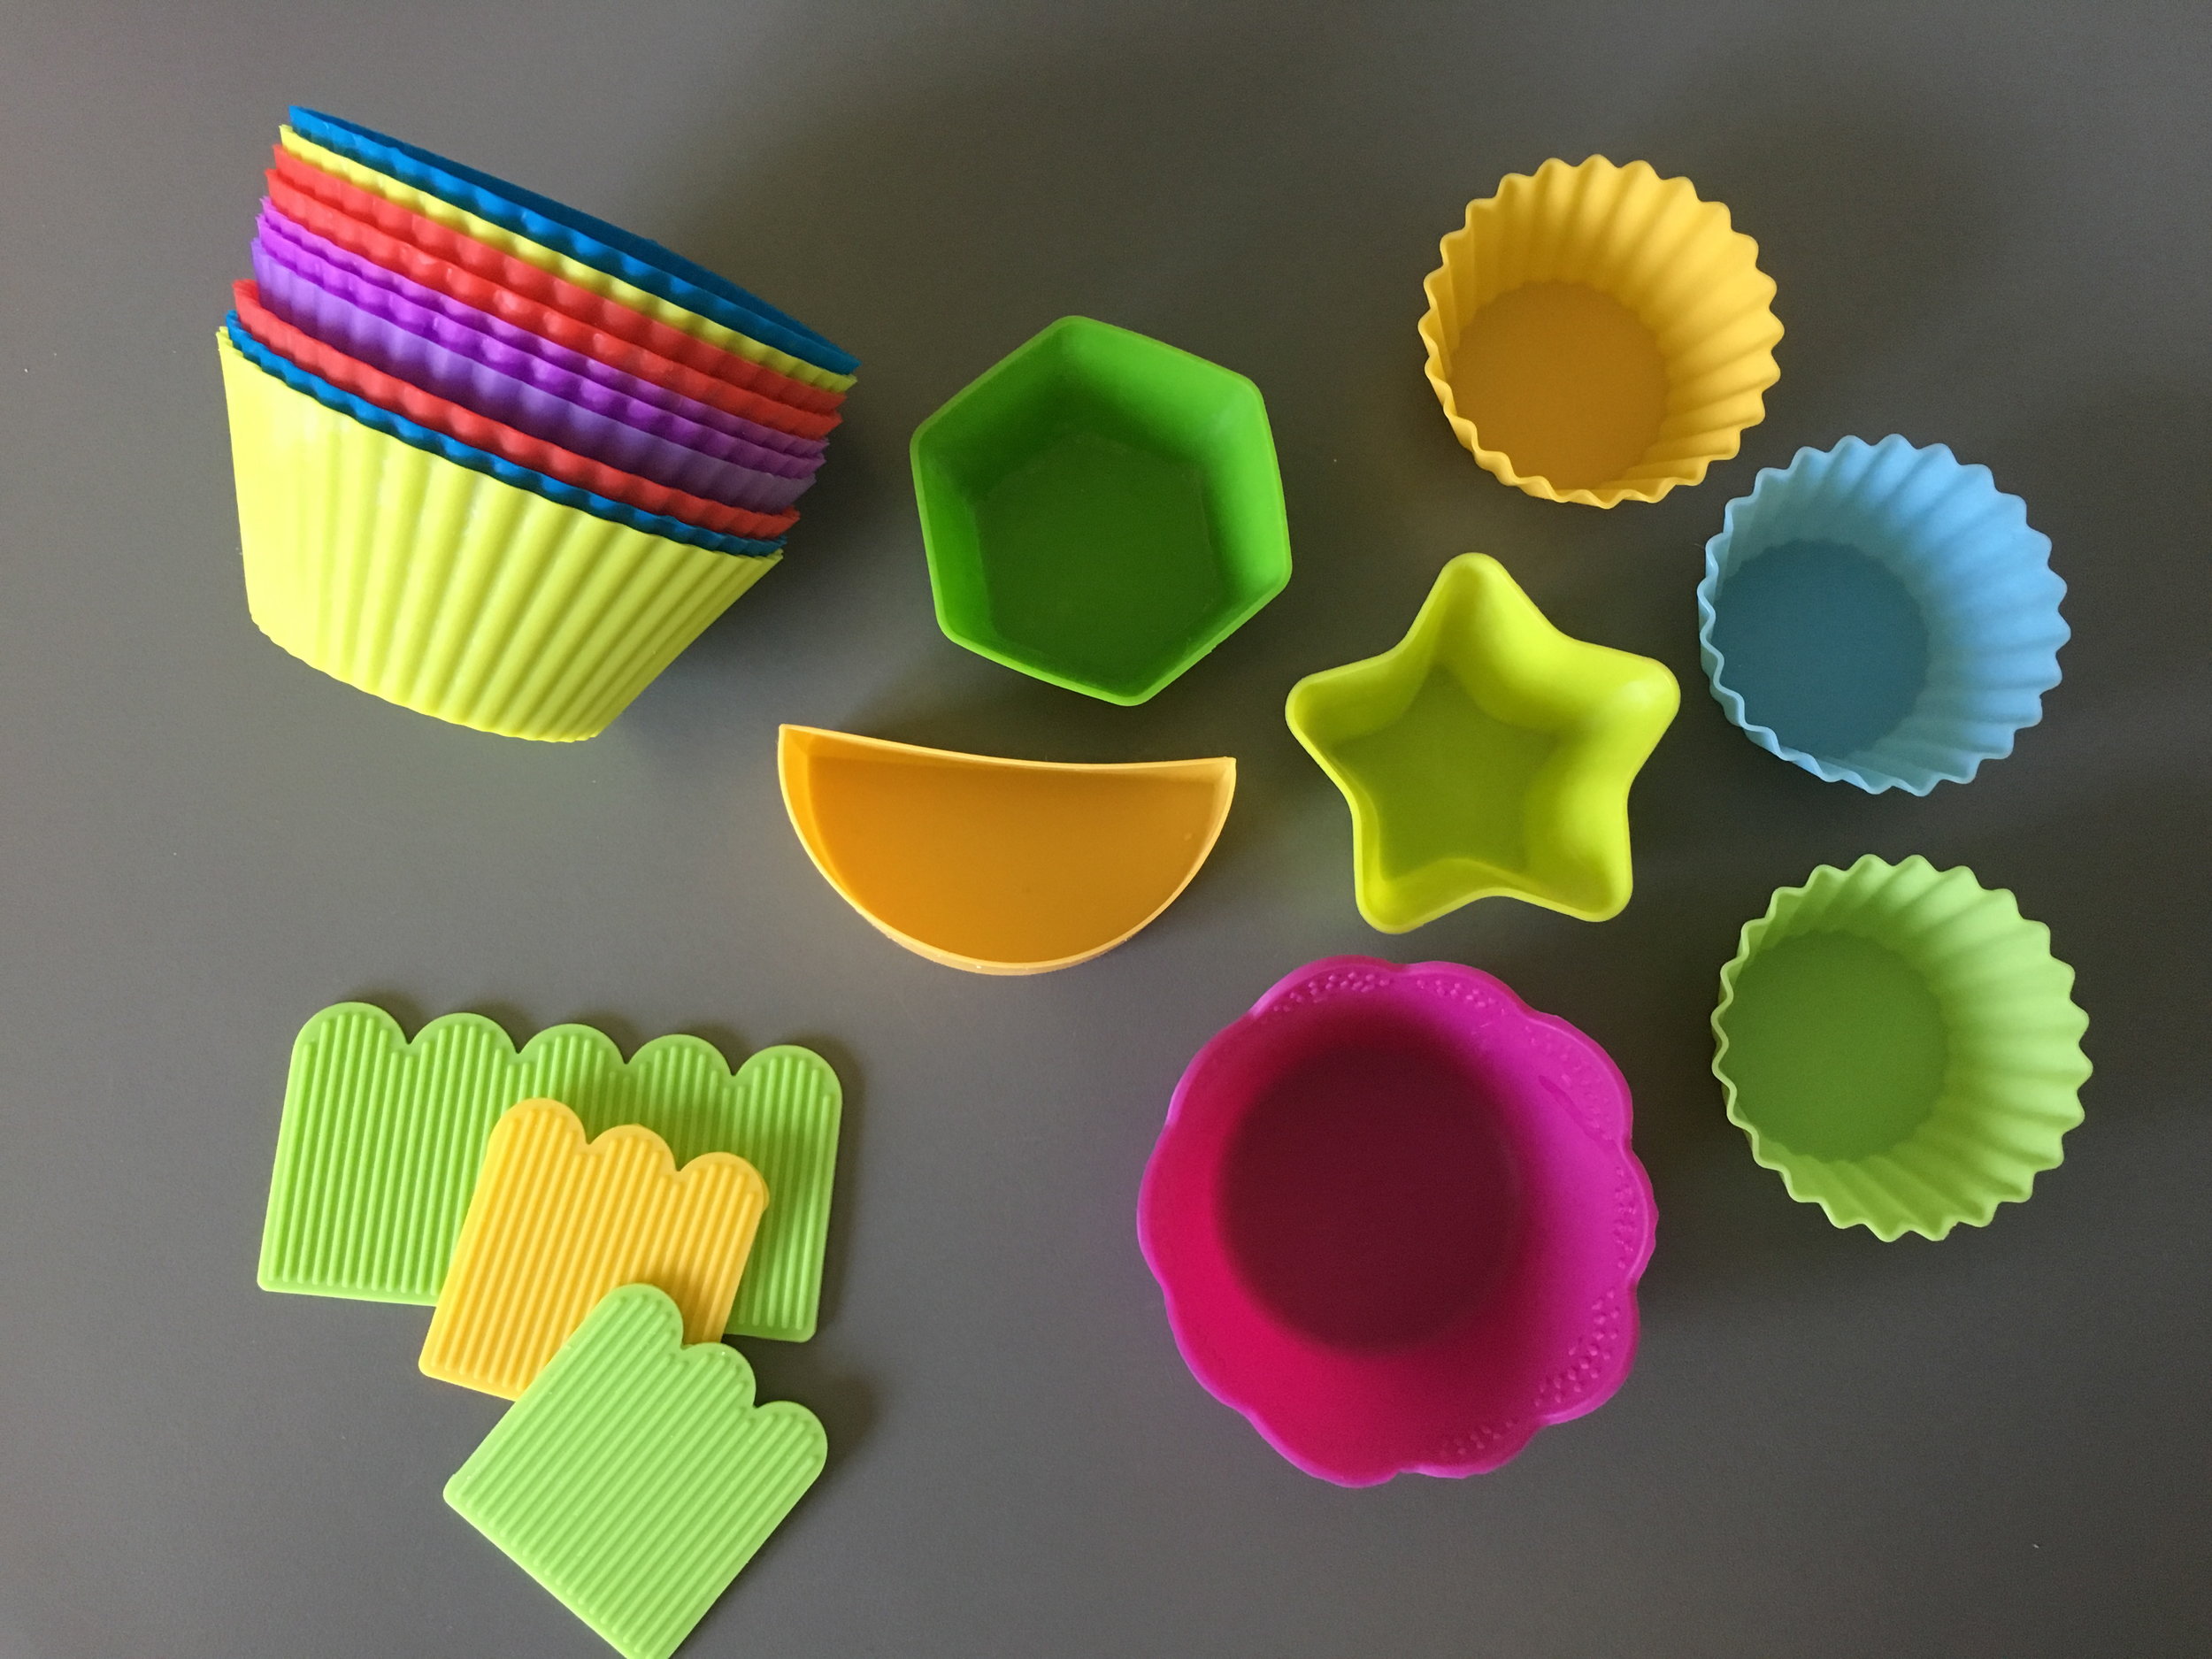
First up! Silicone baking cups. I use these for every single lunch I pack! They make perfect containers for fruits, veggies, small crackers, slices of cheese ... practically anything. And the flat silicone shapes are baran food dividers. I use these to divide a lunchbox section into two parts, especially if I have a wet food next to a dry food. (Find the cups here and here. Find the star/moon set here. Find the baran/dividers here.)
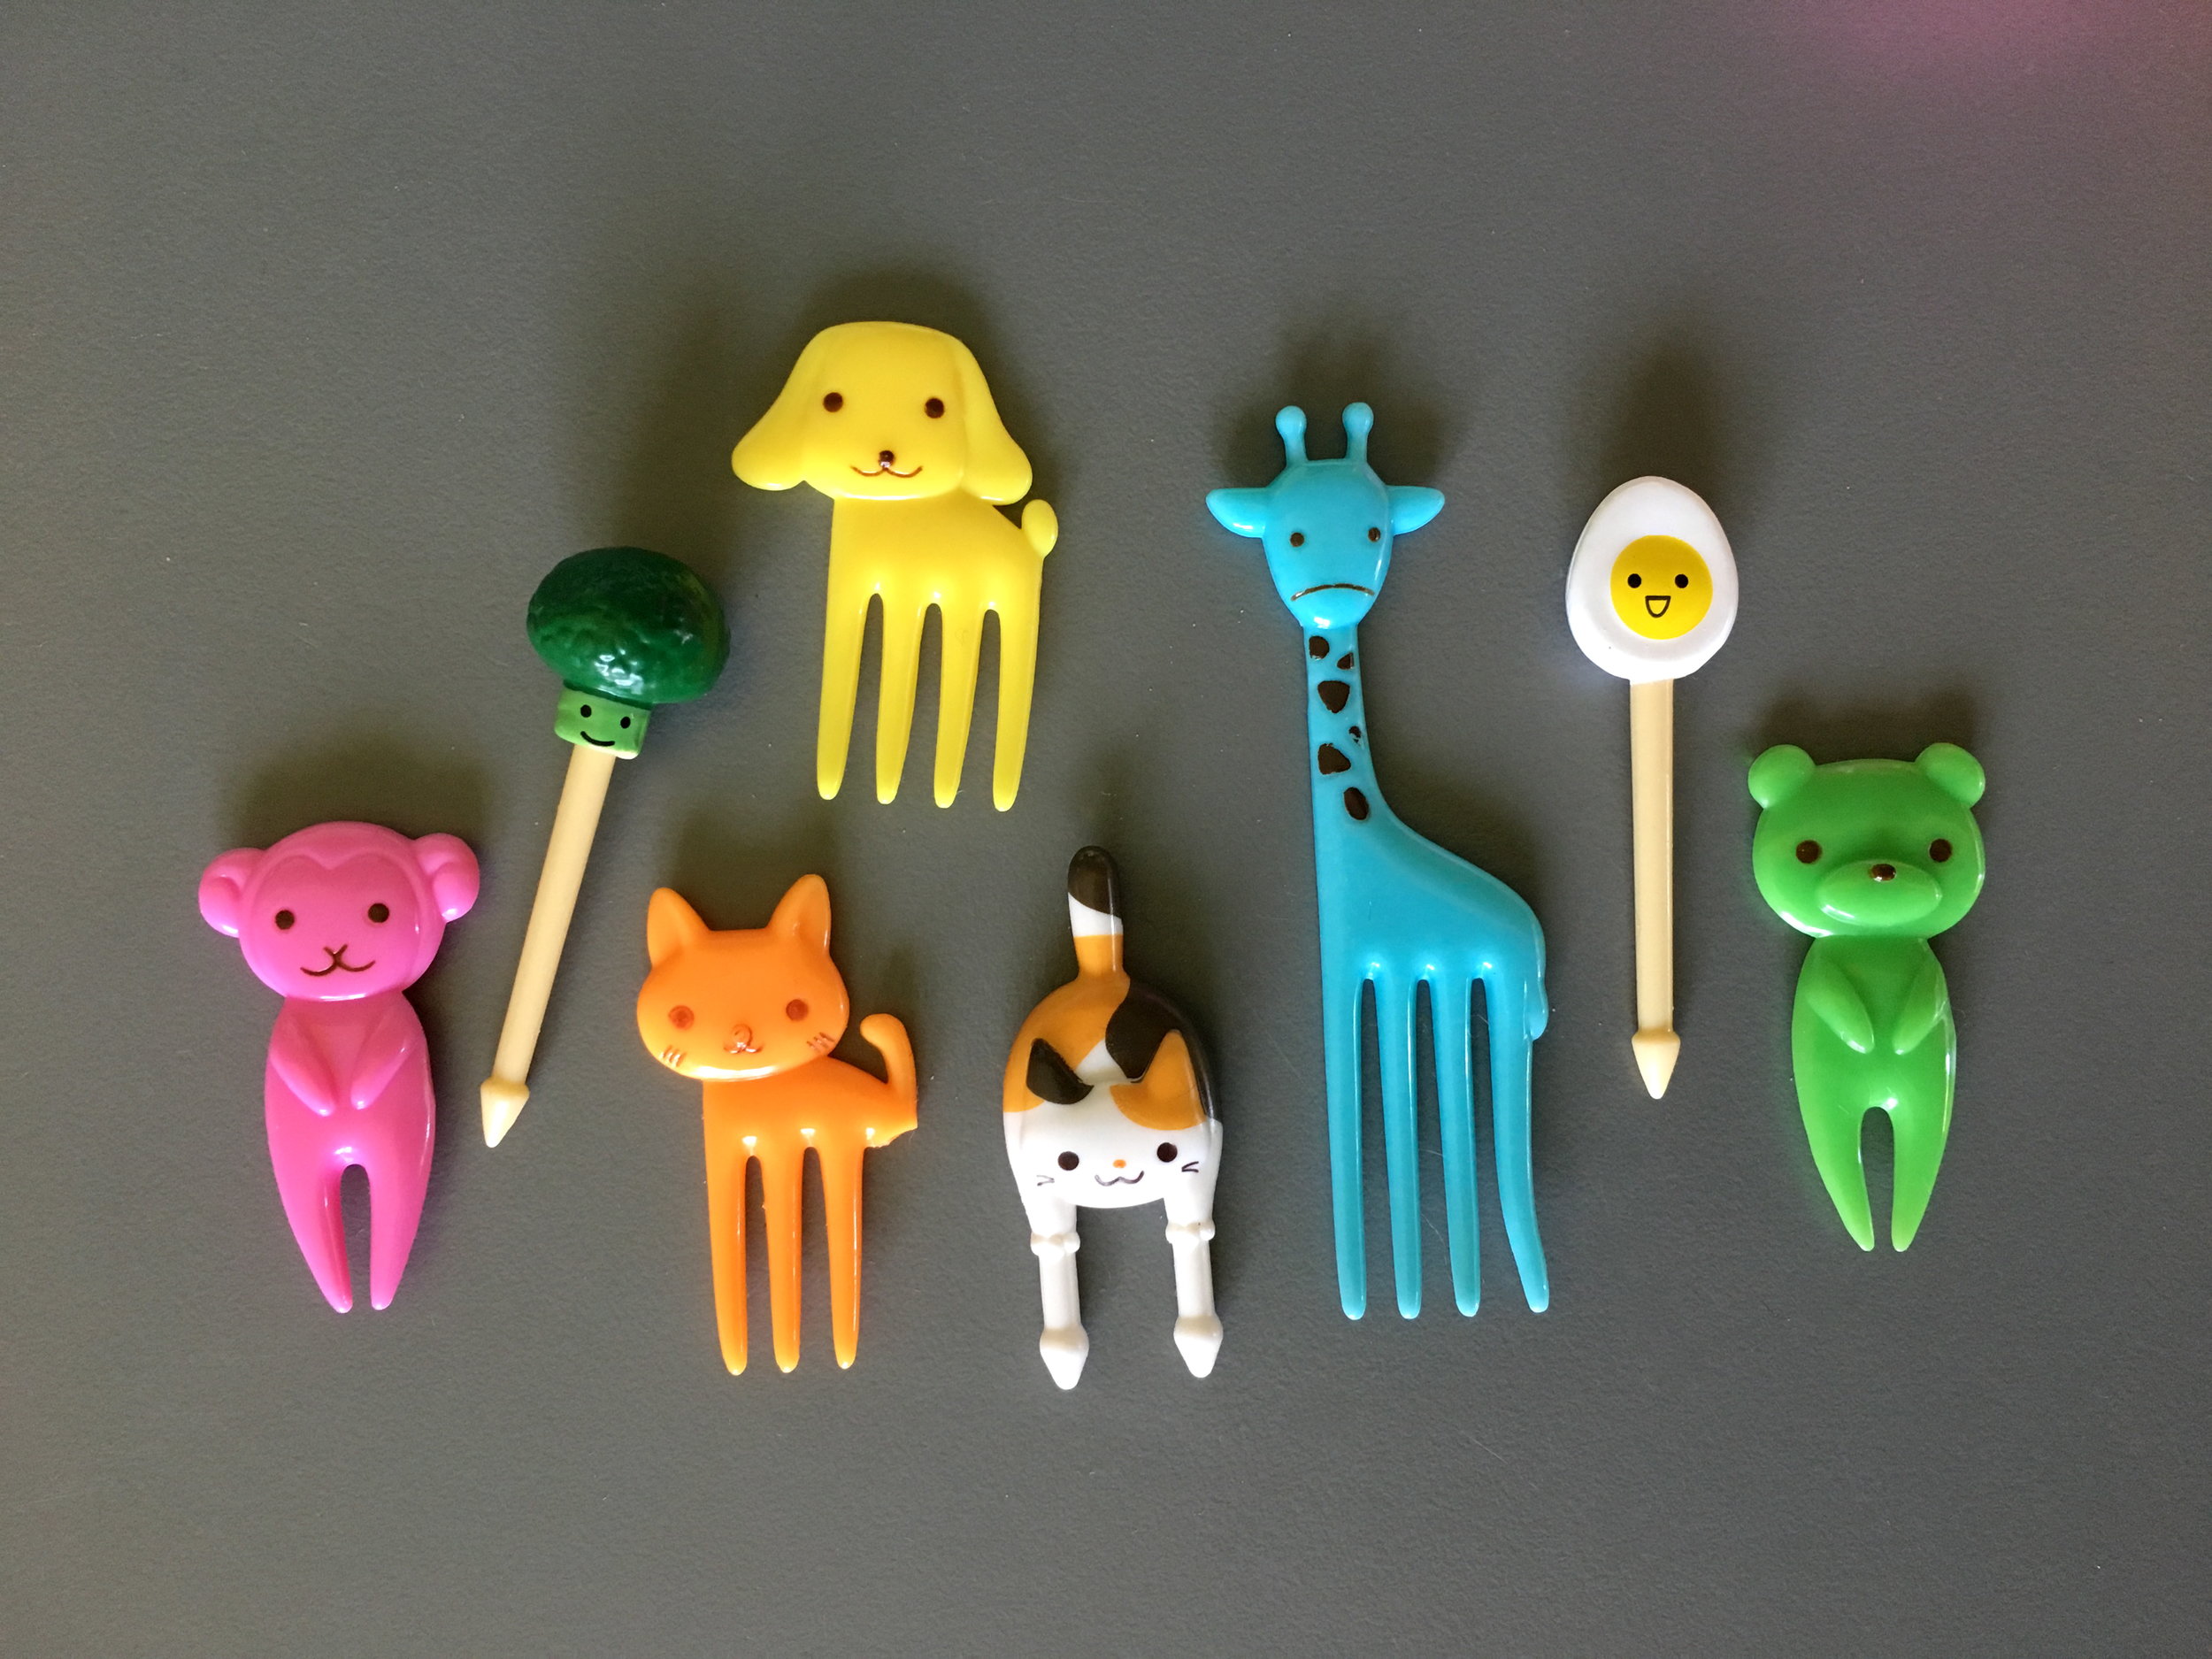
The most adorable and irresistible bento accessory in the world are these little plastic food picks. Use them to decorate sandwiches, fruits, cheese, veggies ... they are adorable and inexpensive and are so fun to use. (Find these here.)
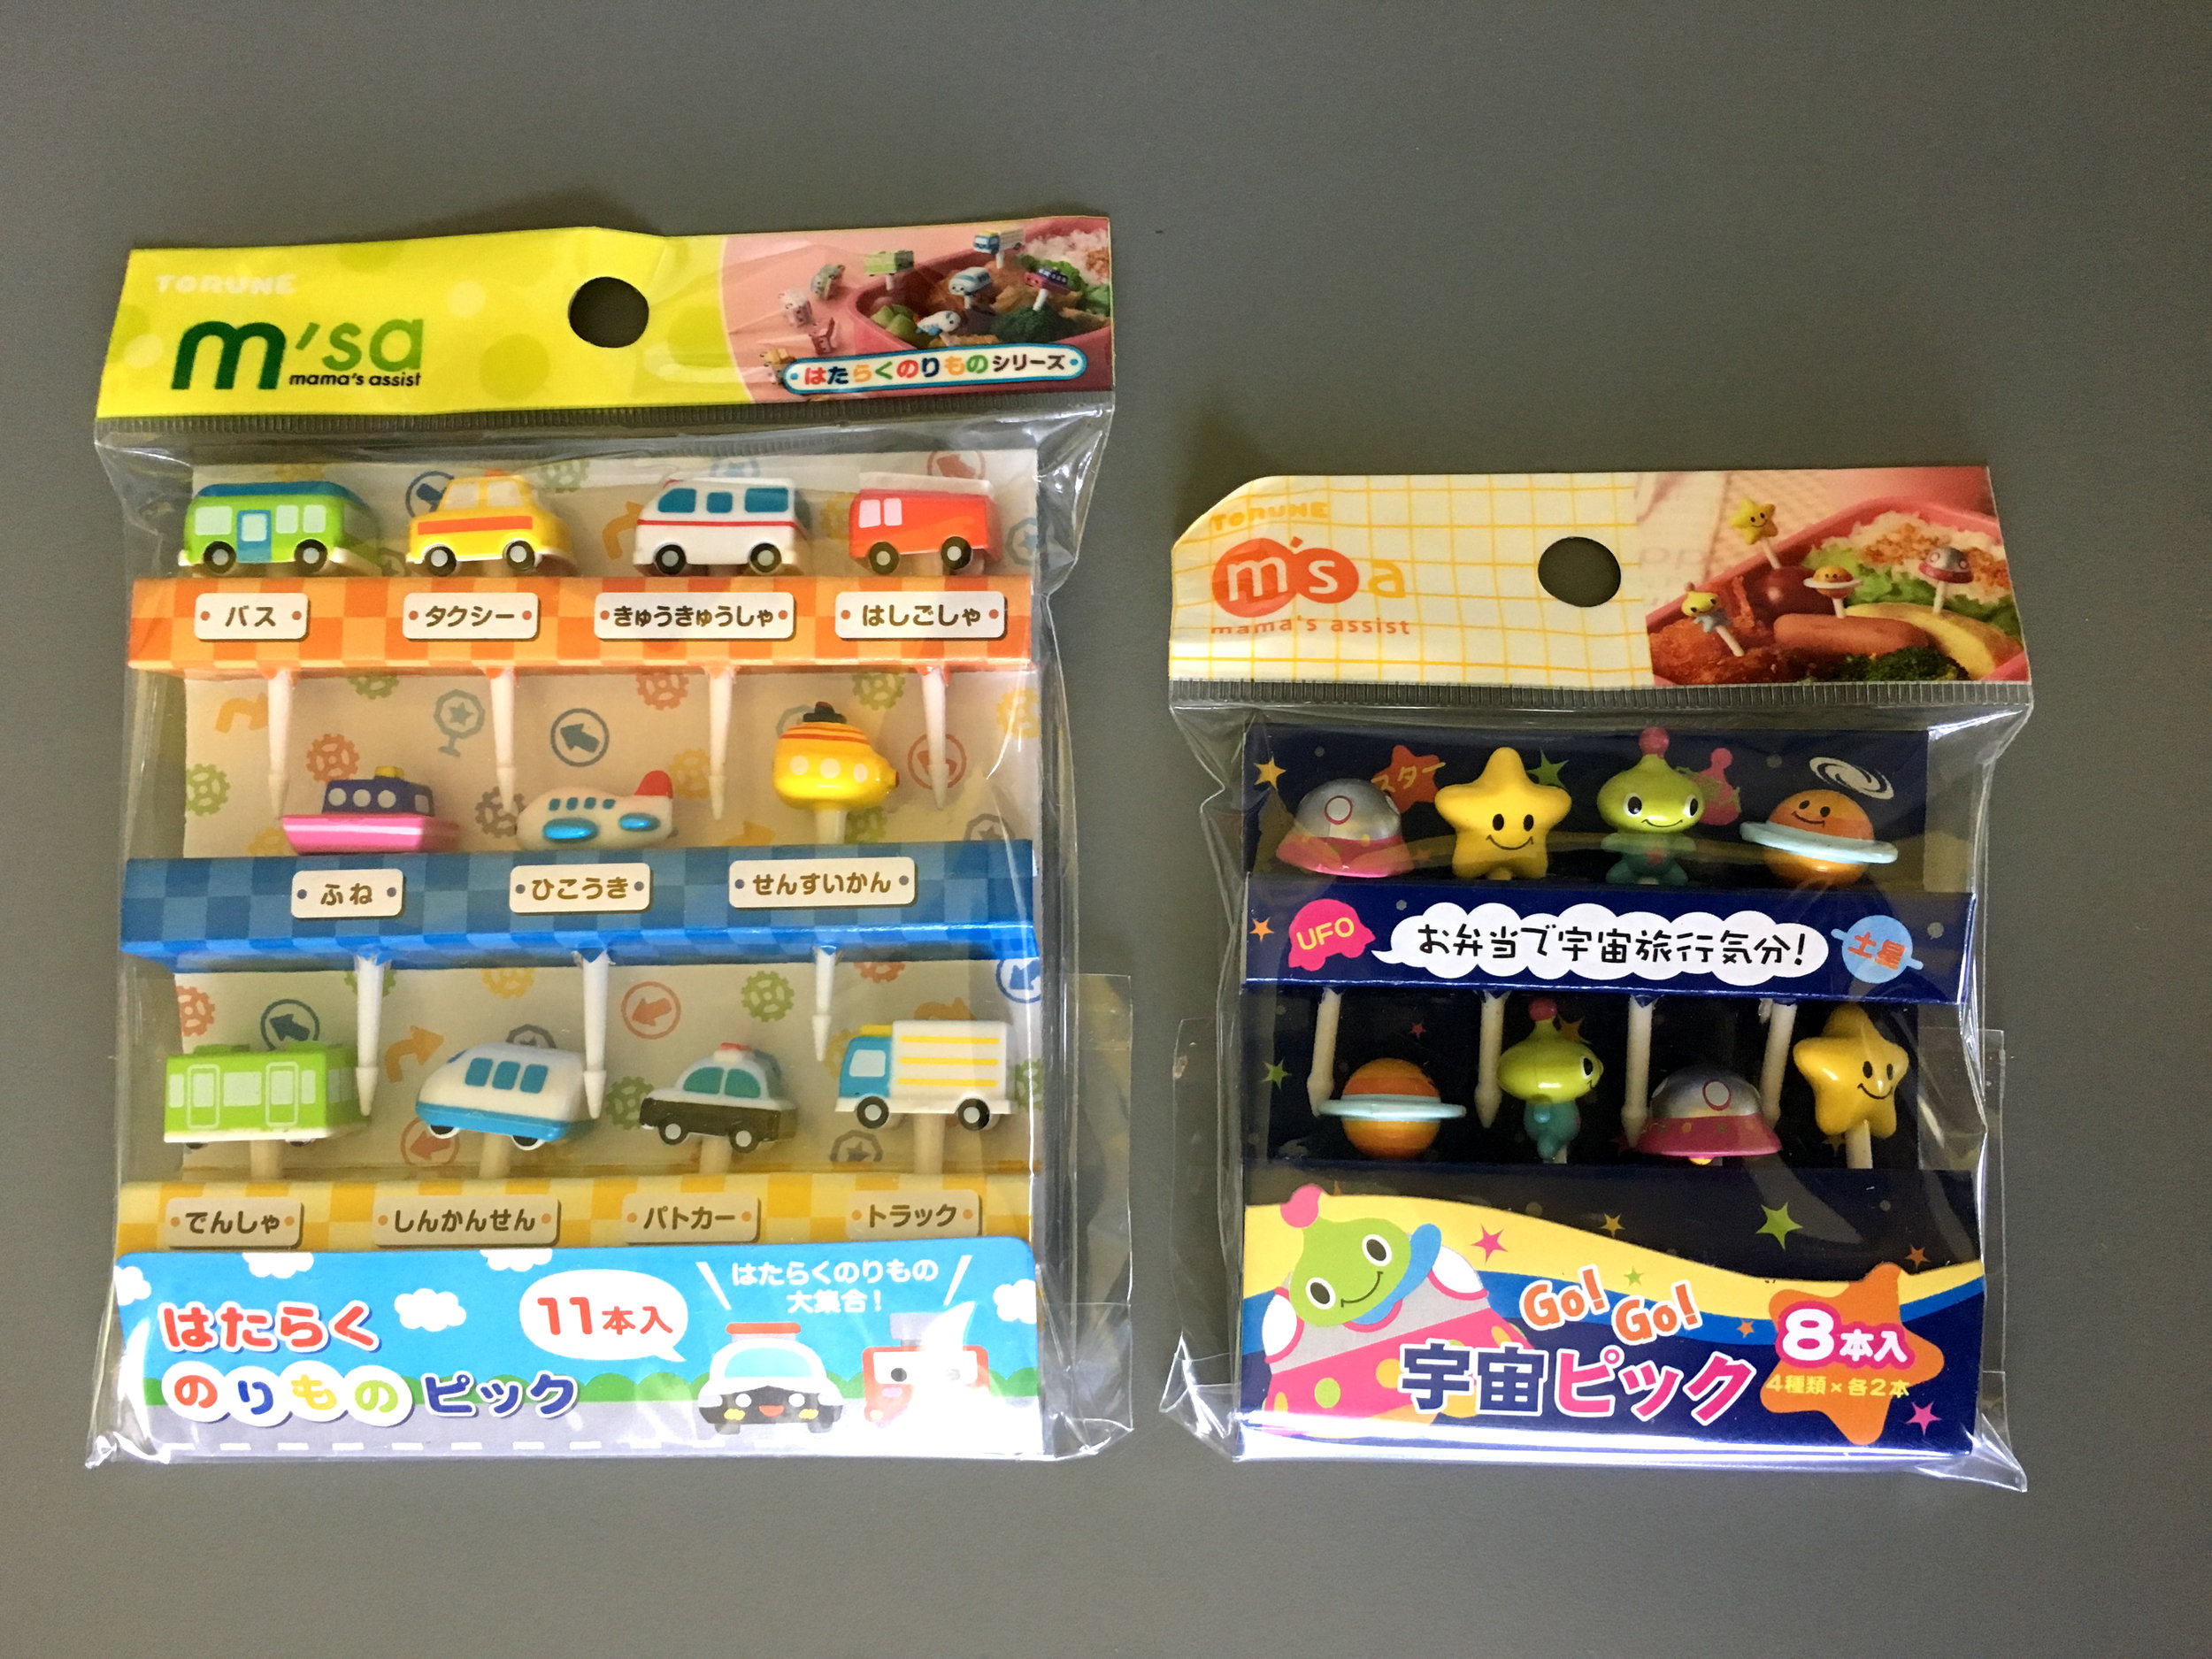
I bought a few new food picks to use this year because I couldn't help myself. Some of these are too 'cute' for my sixth grade daughter but my son is in first grade and is STOKED about these. (Find these and more here.)
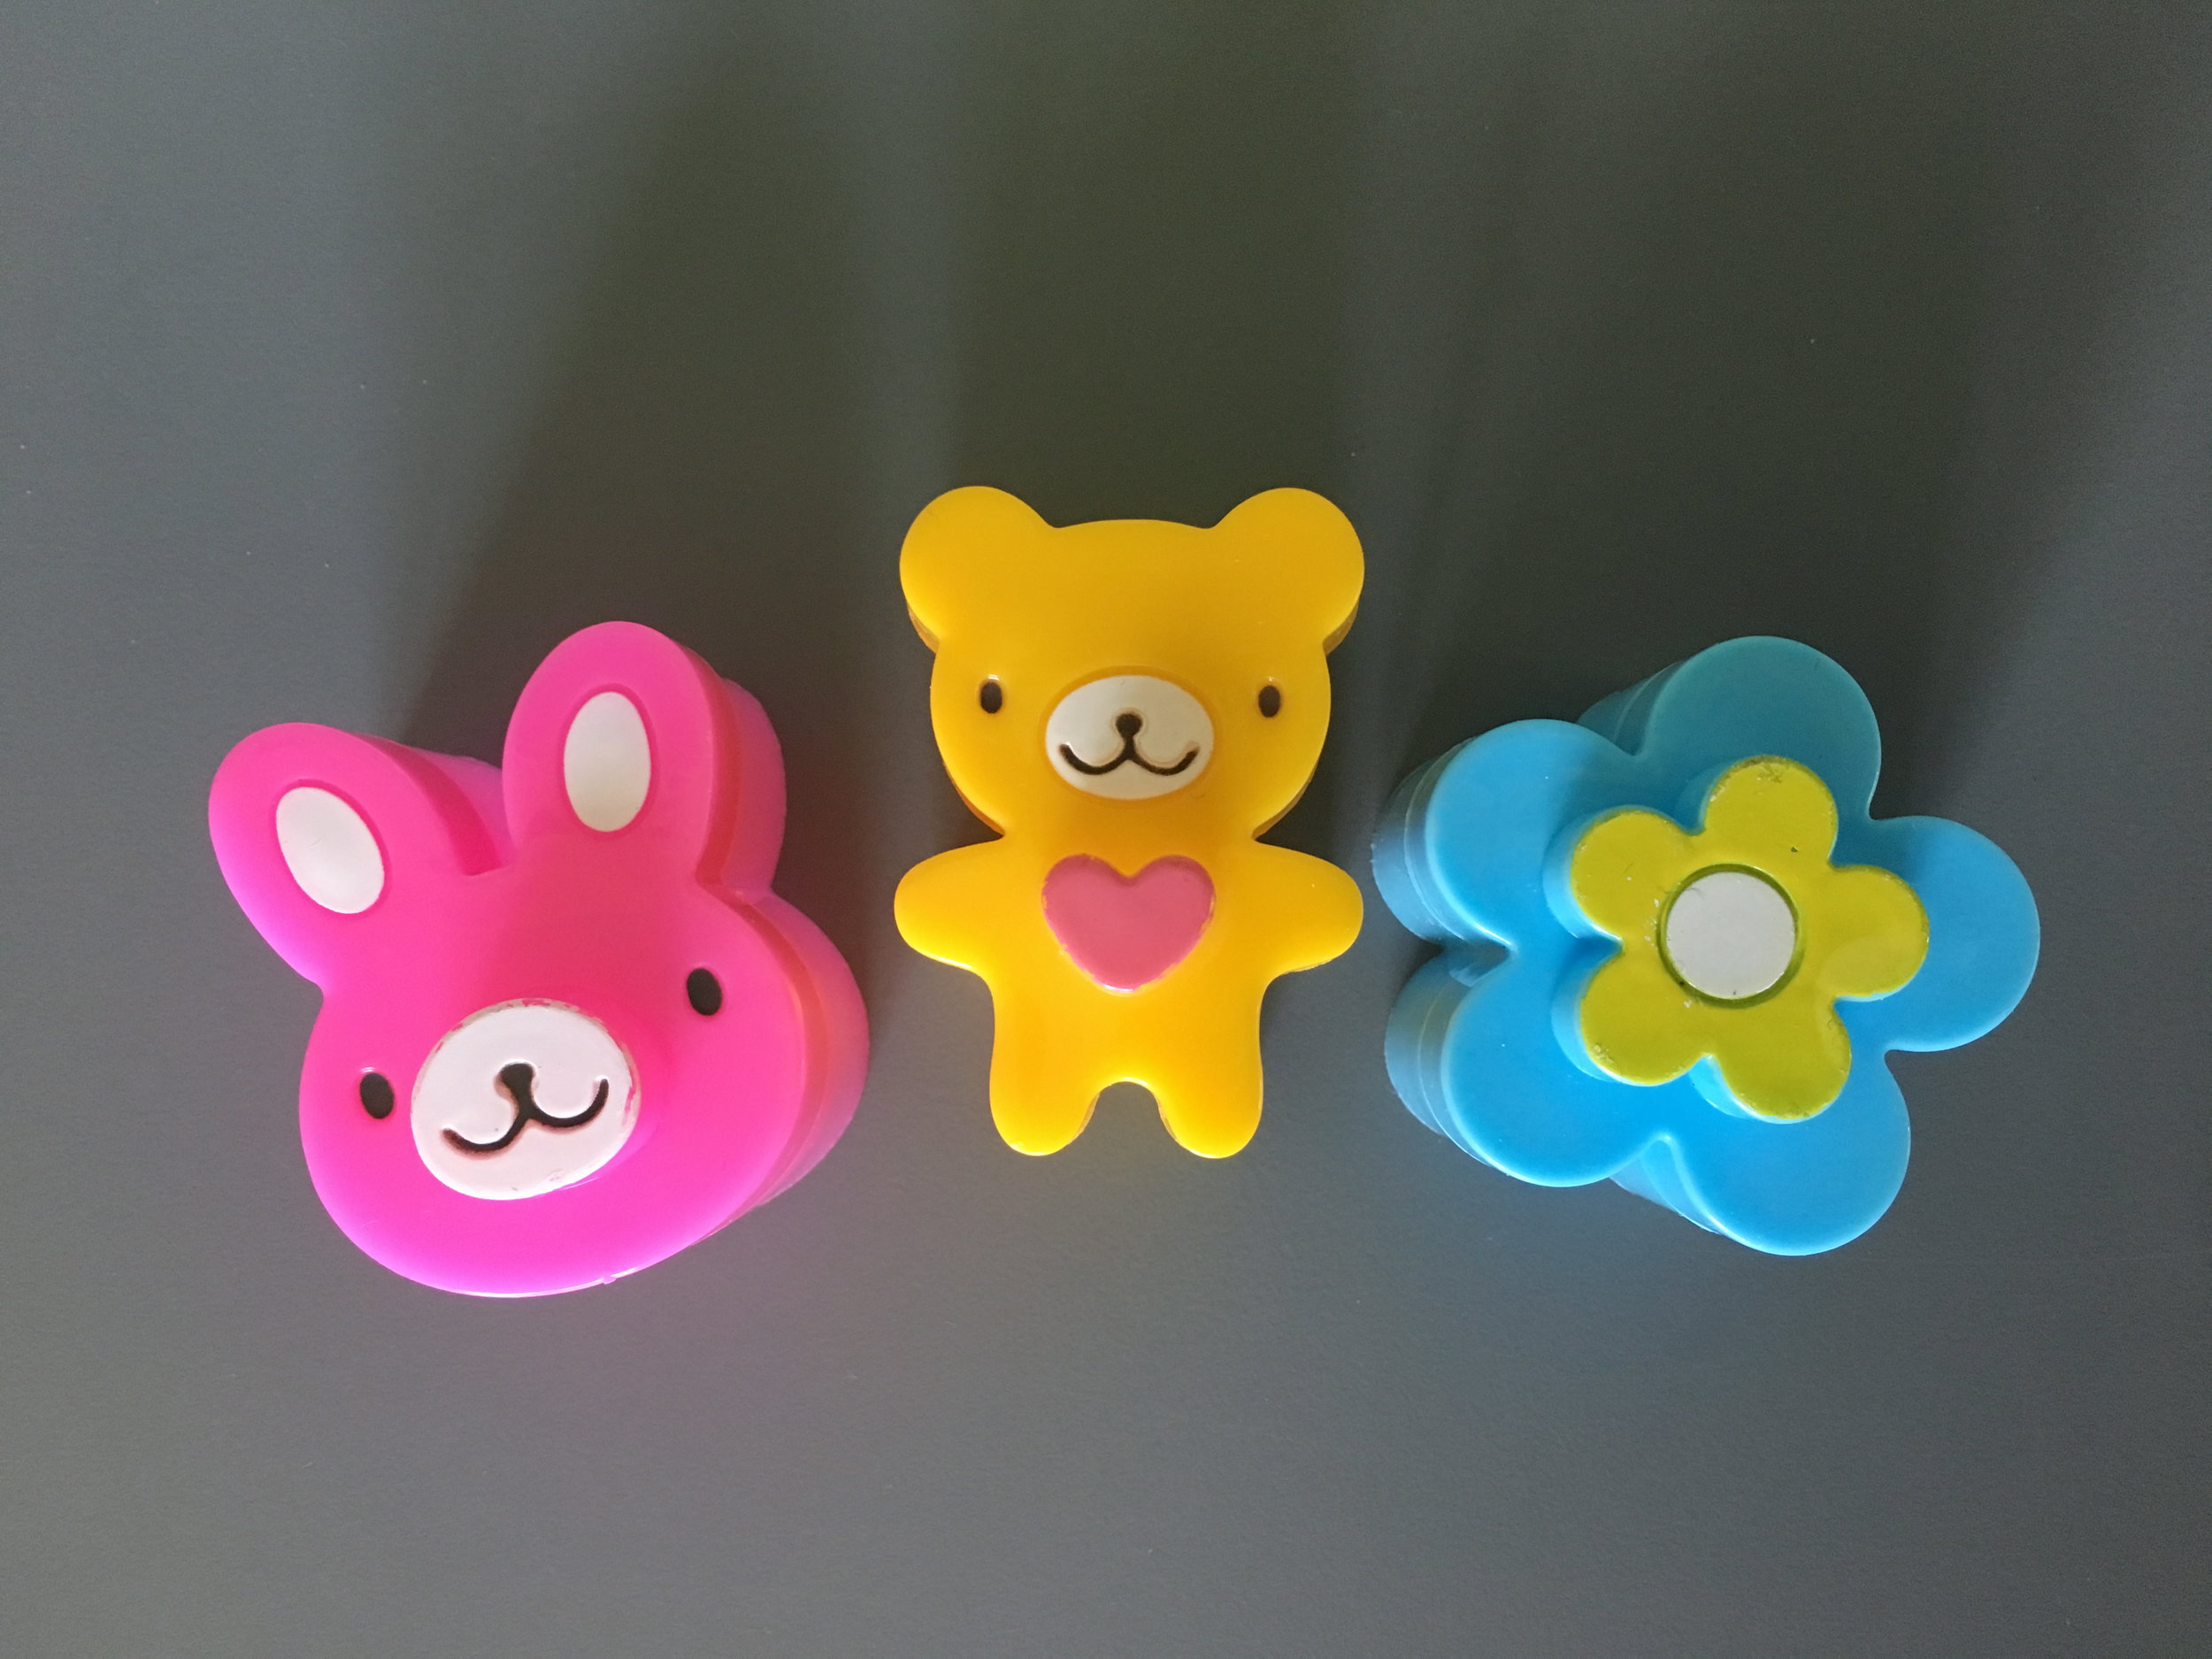
Sandwich cutters! This pic does not show what these do very well at all, but basically the outer shape cuts an outline into the bread, like a cookie cutter. Then you take off the top shape and 'stamp' a more detailed, 3D image onto the top piece of your sandwich. I have used these a million times over the years for Lo's lunches. Tiny bunny sandwiches!
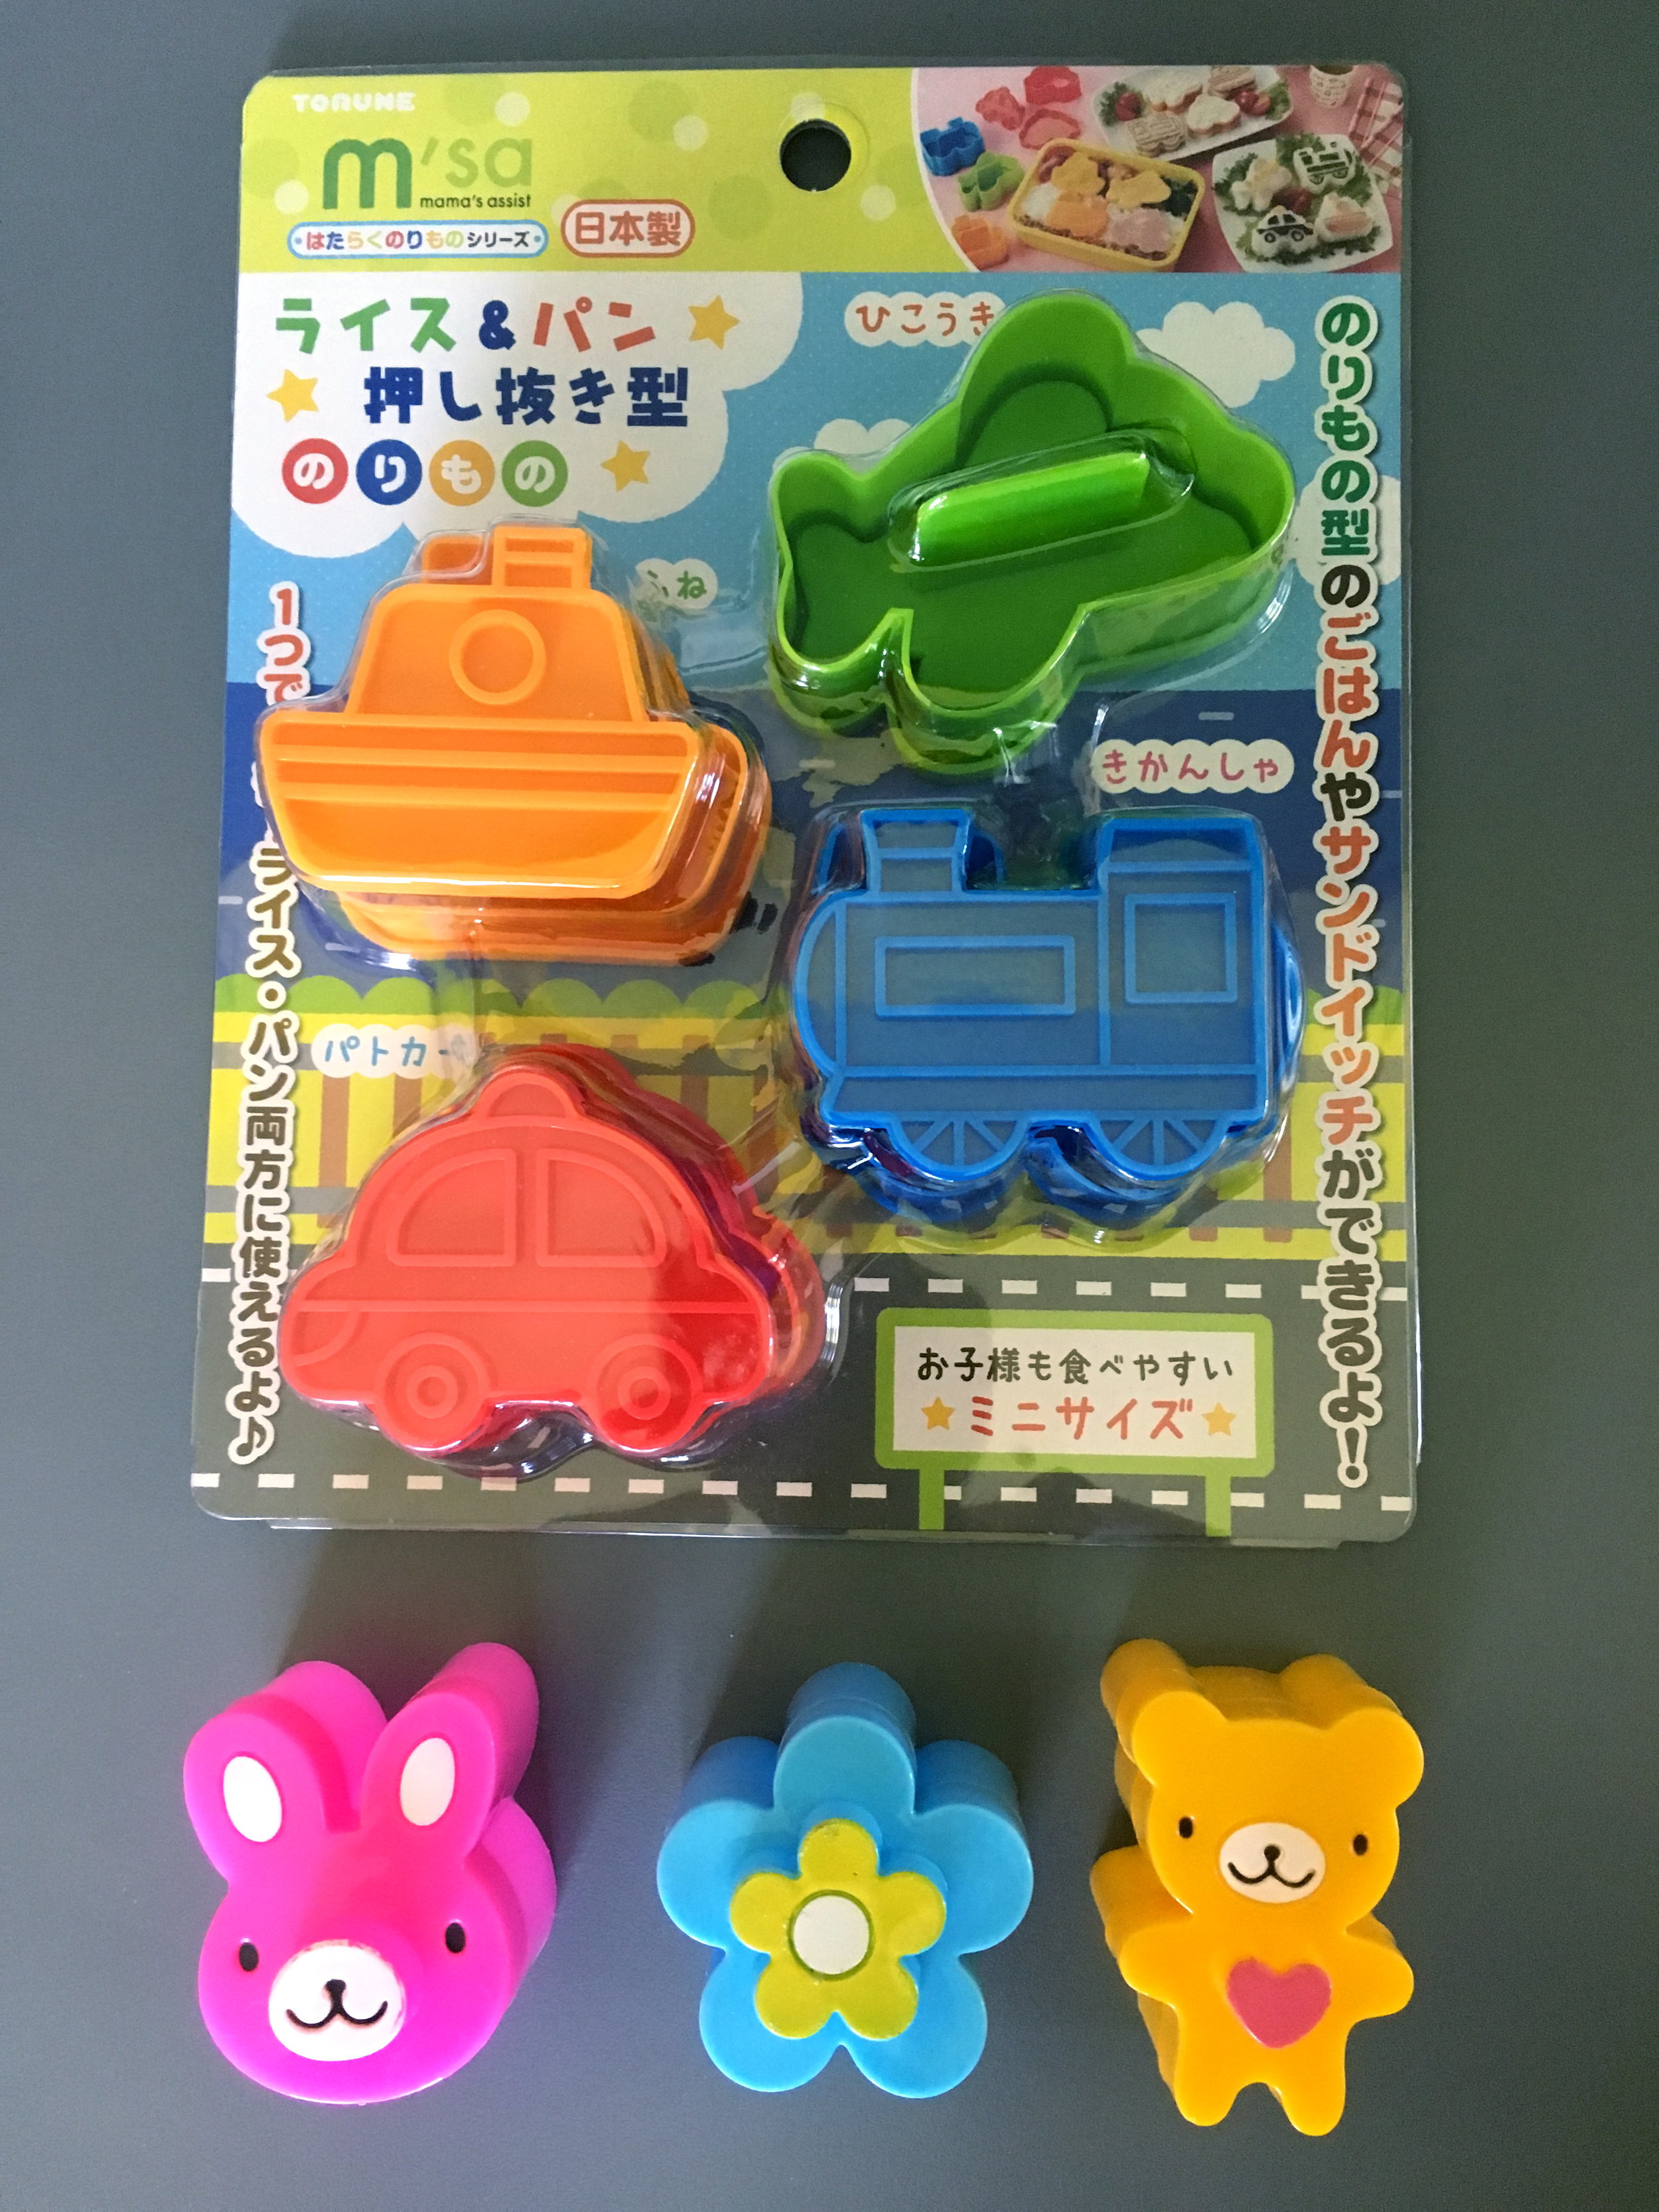
And that's why I bought one more set this year that was a little bit more boy-themed for my son. Pop a few of these little sandwiches into a lunch box and you're set! Sometimes these fit better inside bento boxes than a regular square sandwich too. (FInd them here.)

Here's a supply I bet you already have! I use cookie cutters and metal fruit/veggie cutters constantly. They are easy and fast and make your food look super cool. I use them to cut sandwiches, cucumbers, carrots, cheese, deli meat, fruit leather ... the possibilities are endless. (Find my favorite IKEA metal animal cookie cutters here.)

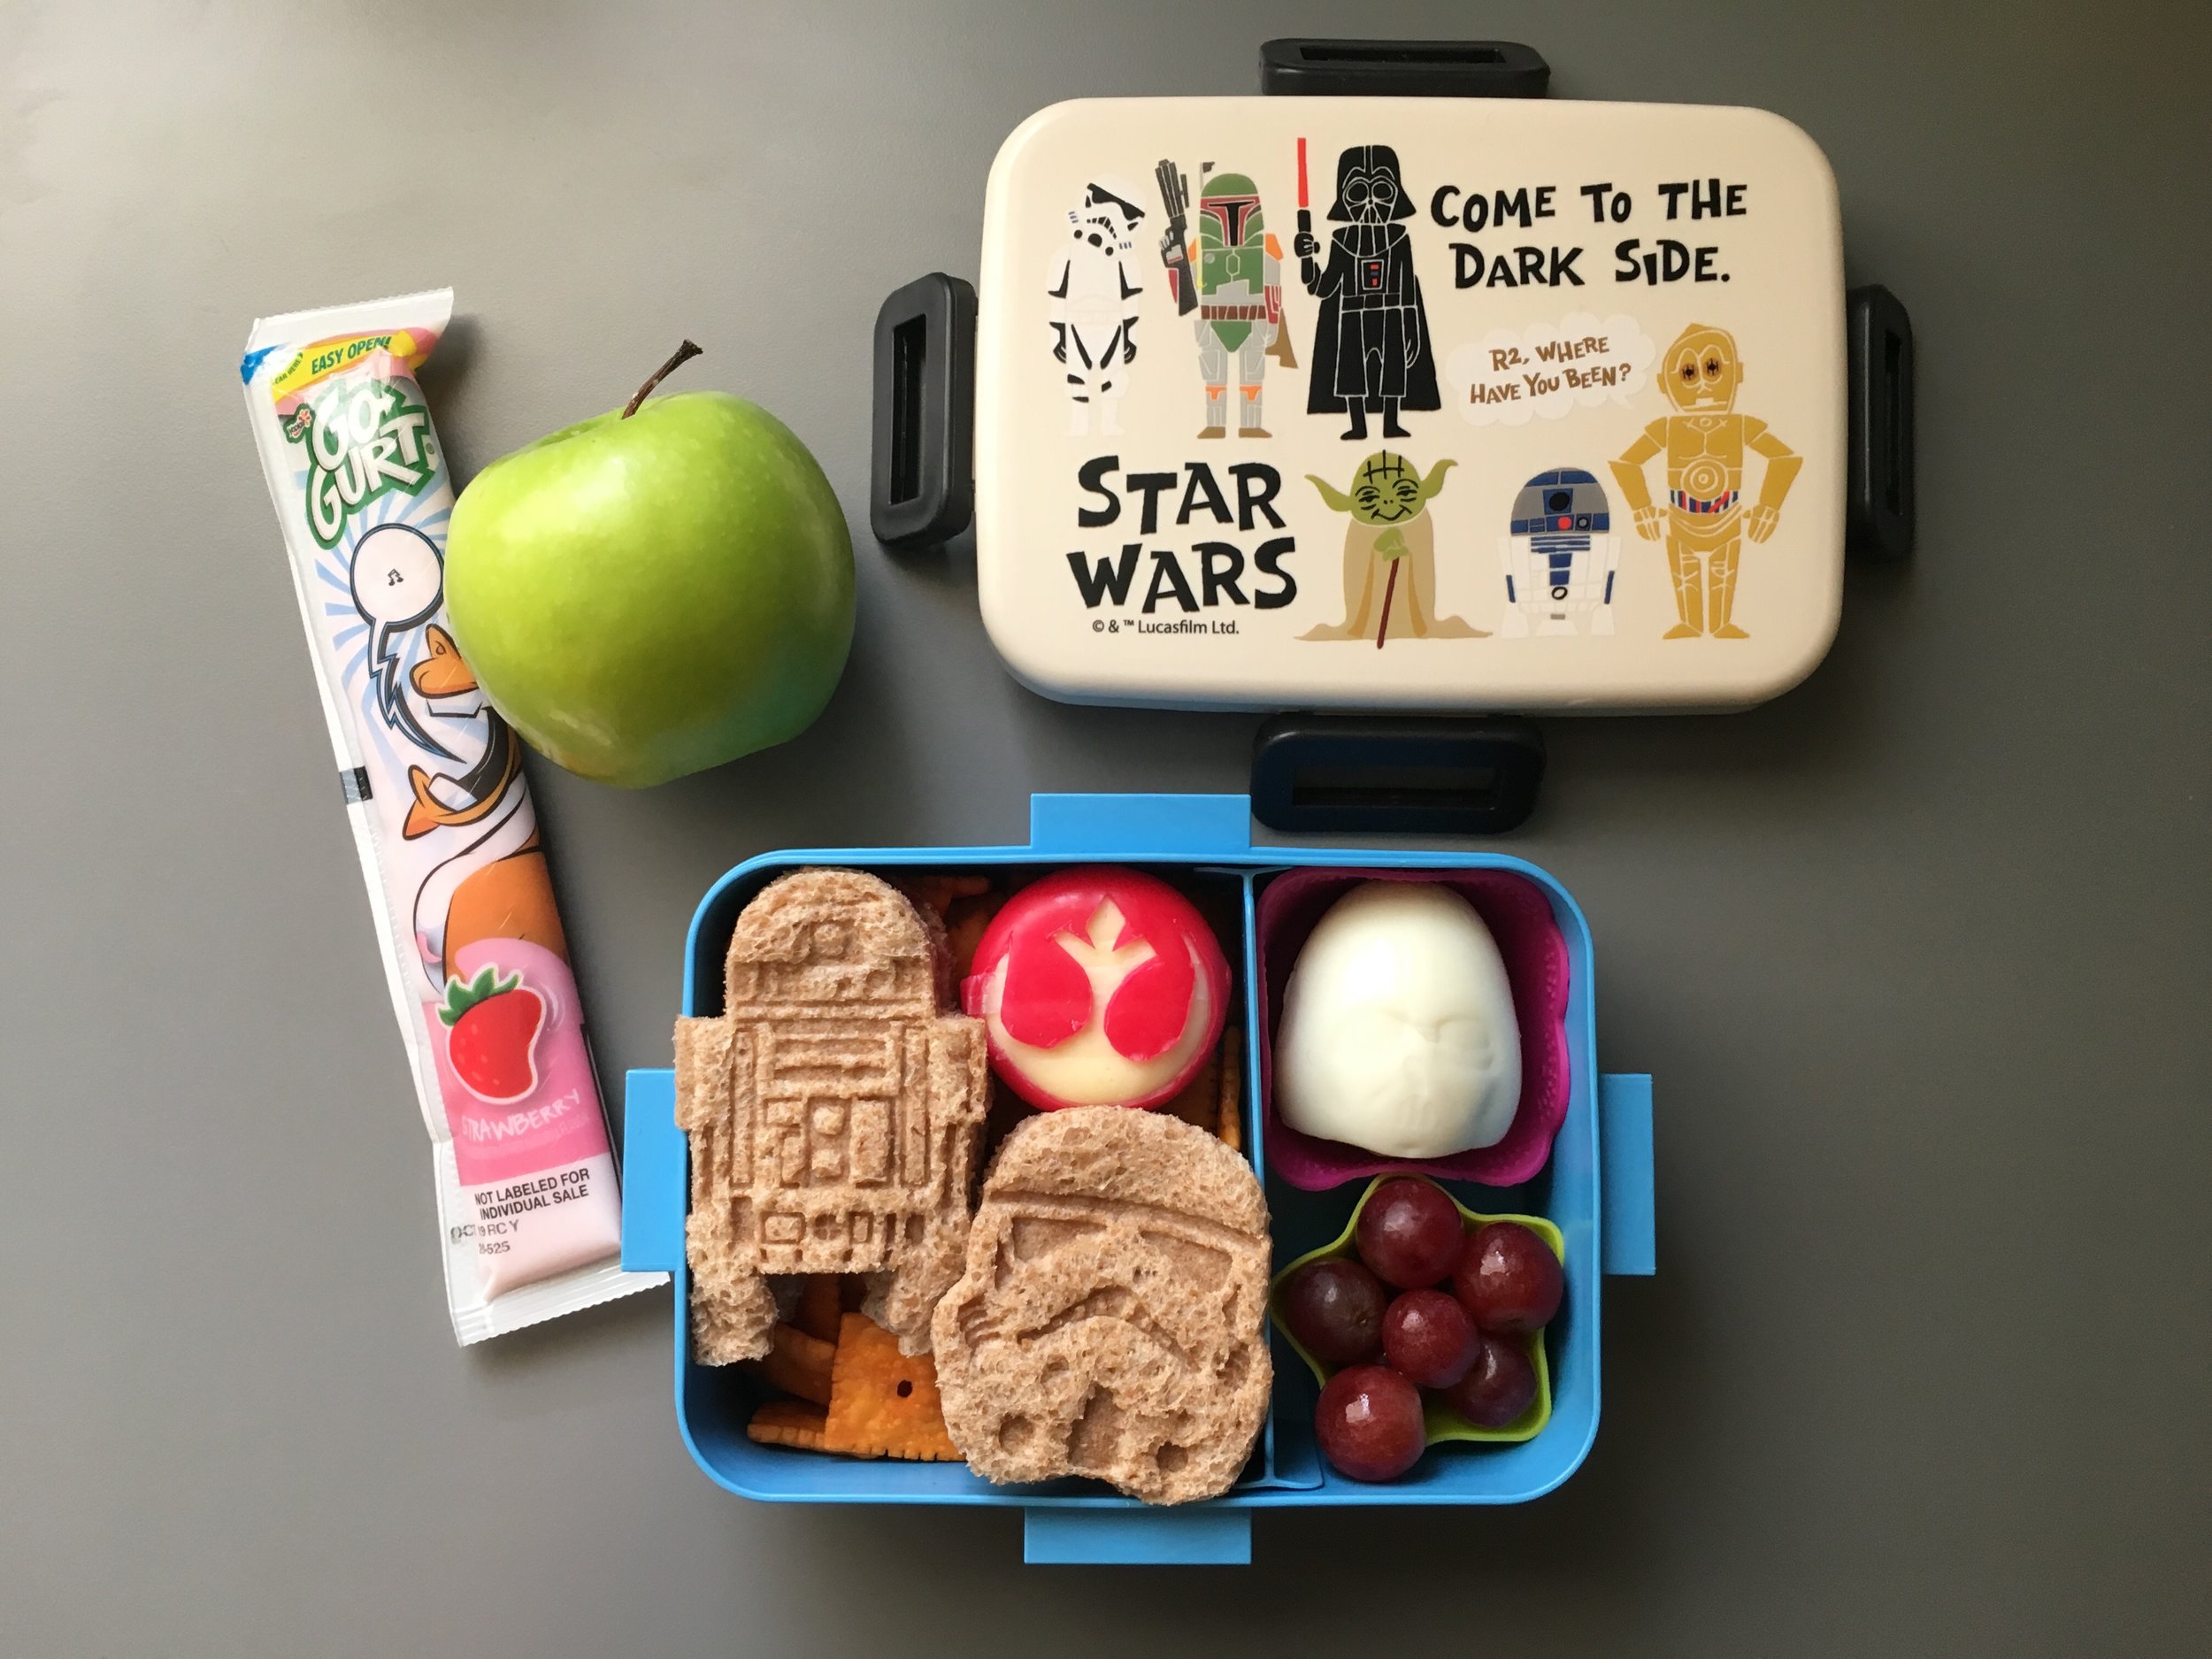
If you happen to have a hard-boiled egg lover in your house, egg shapers are extremely fun. I have one kid who loves eggs and one kid who won't touch them. (Of course!) These molds definitely work best on small to medium-sized eggs. If your eggs is too large, egg white will smush out the sides and your shape won't turn out very well. (Find these here.)

To use these, you just boil an egg like you would normally. Then peel it while it's still hot. (Not so hot that you burn your fingers, but you want it to be pretty warm.) Put the peeled egg inside the mold and clip the sides shut for about five minutes or so. I make about six at a time and store them in the fridge for a week. (Find Star Wars egg shapers here!)

I like to avoid using zip-lock bags if I can and these reusable snack bags are the perfect replacement. They aren't totally waterproof though, so they are best for sandwiches and crackers or other dry foods. I love throwing these in my purse, too. (Find the blue/orange set here and the Mario bags here.)

Hold me closer, tiny boxes! You can pretty much find these anywhere or just use your smallest kitchen containers with lids. I use these all the time when I want to throw in some extra carrots or grapes or strawberries ... sometimes it's nice to keep the wet things separate in a leak-proof container and these little guys do the trick. (Find tons of them here.)
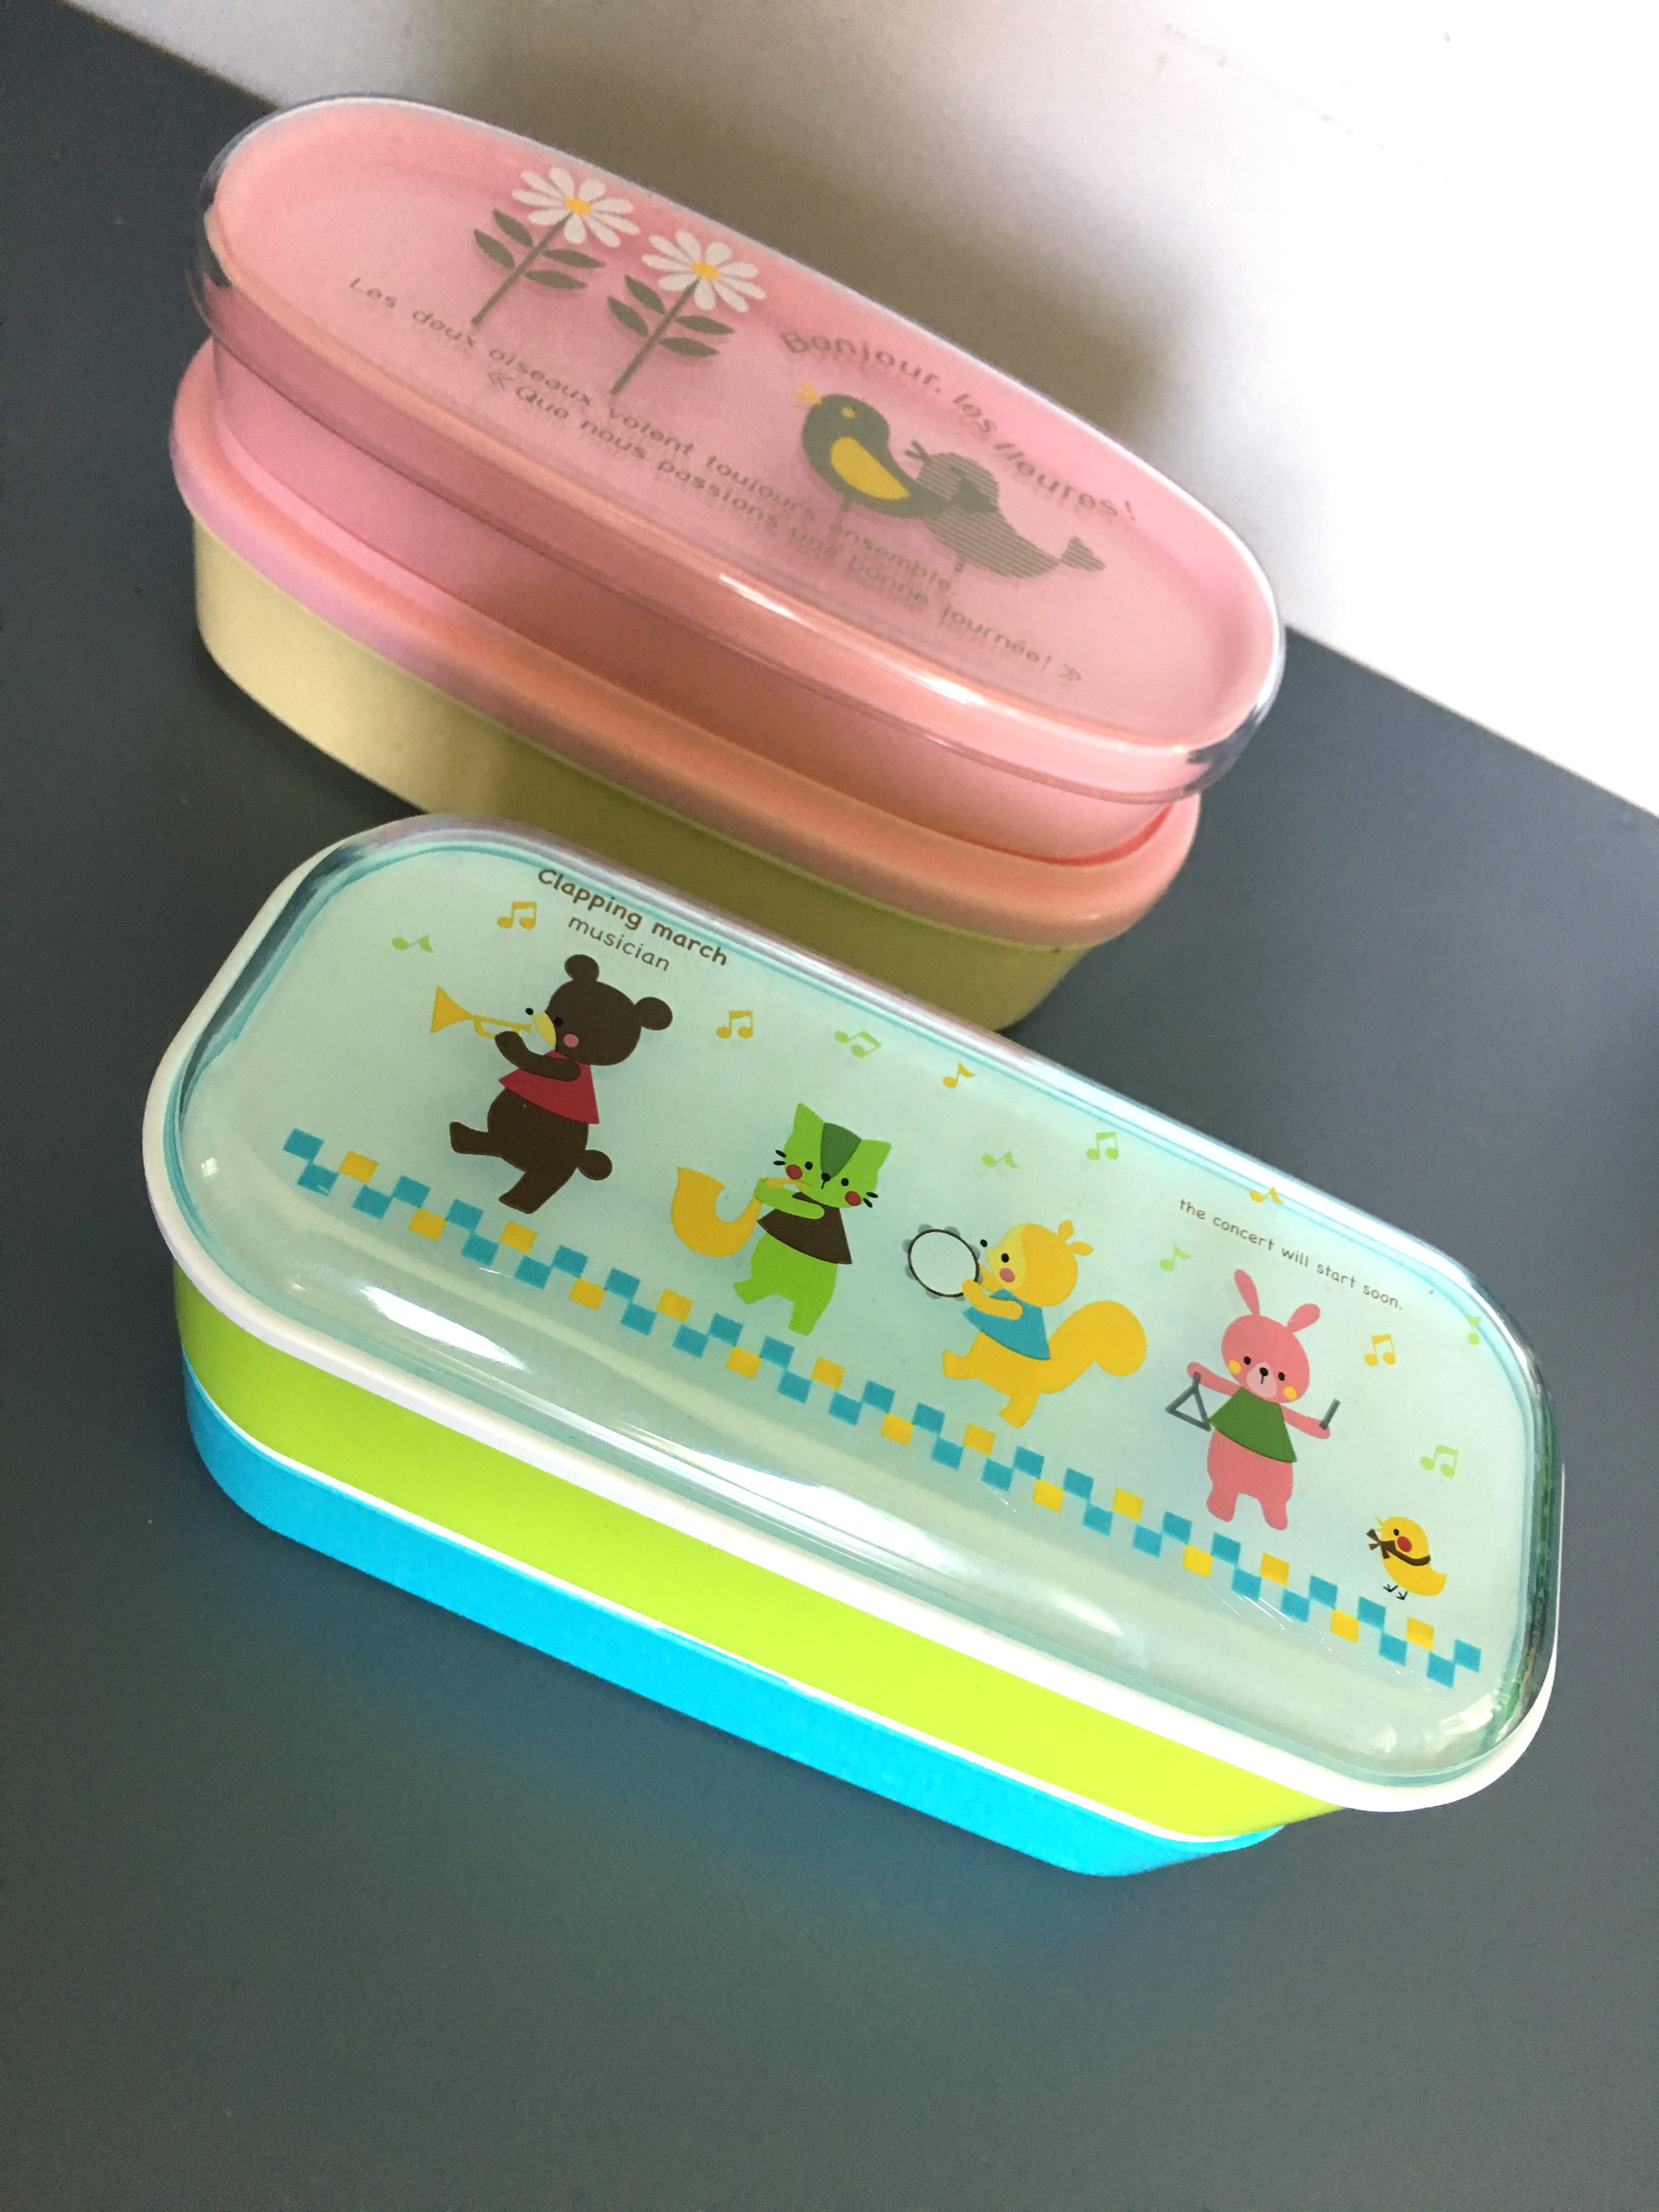
Okay ... now on to my least-used supplies. (This part is kind of sad, because these boxes are ADORABLE and some of the first lunch boxes I ever bought.) Boxes like these are tricky for a few reasons. They are very shallow, can be more difficult to pack because foods have to stay very flat, and the sections have to be stacked perfectly to keep the food from falling out. (The sections of these boxes don't really snap together at all ... they just sit on top of each other.) These boxes come with a strap (which has been misplaced) but even that didn't always keep the three sections from falling apart. The cute top section is meant for silverware and is very shallow, so there's not a whole lot of space in the compartments below for kids with an appetite. BUT they are adorable, so if you love these, go for it! (You can find similar boxes here.)

Here's another adorable type of box! But beware of any boxes with these tiny clips on the sides. They break really easily.
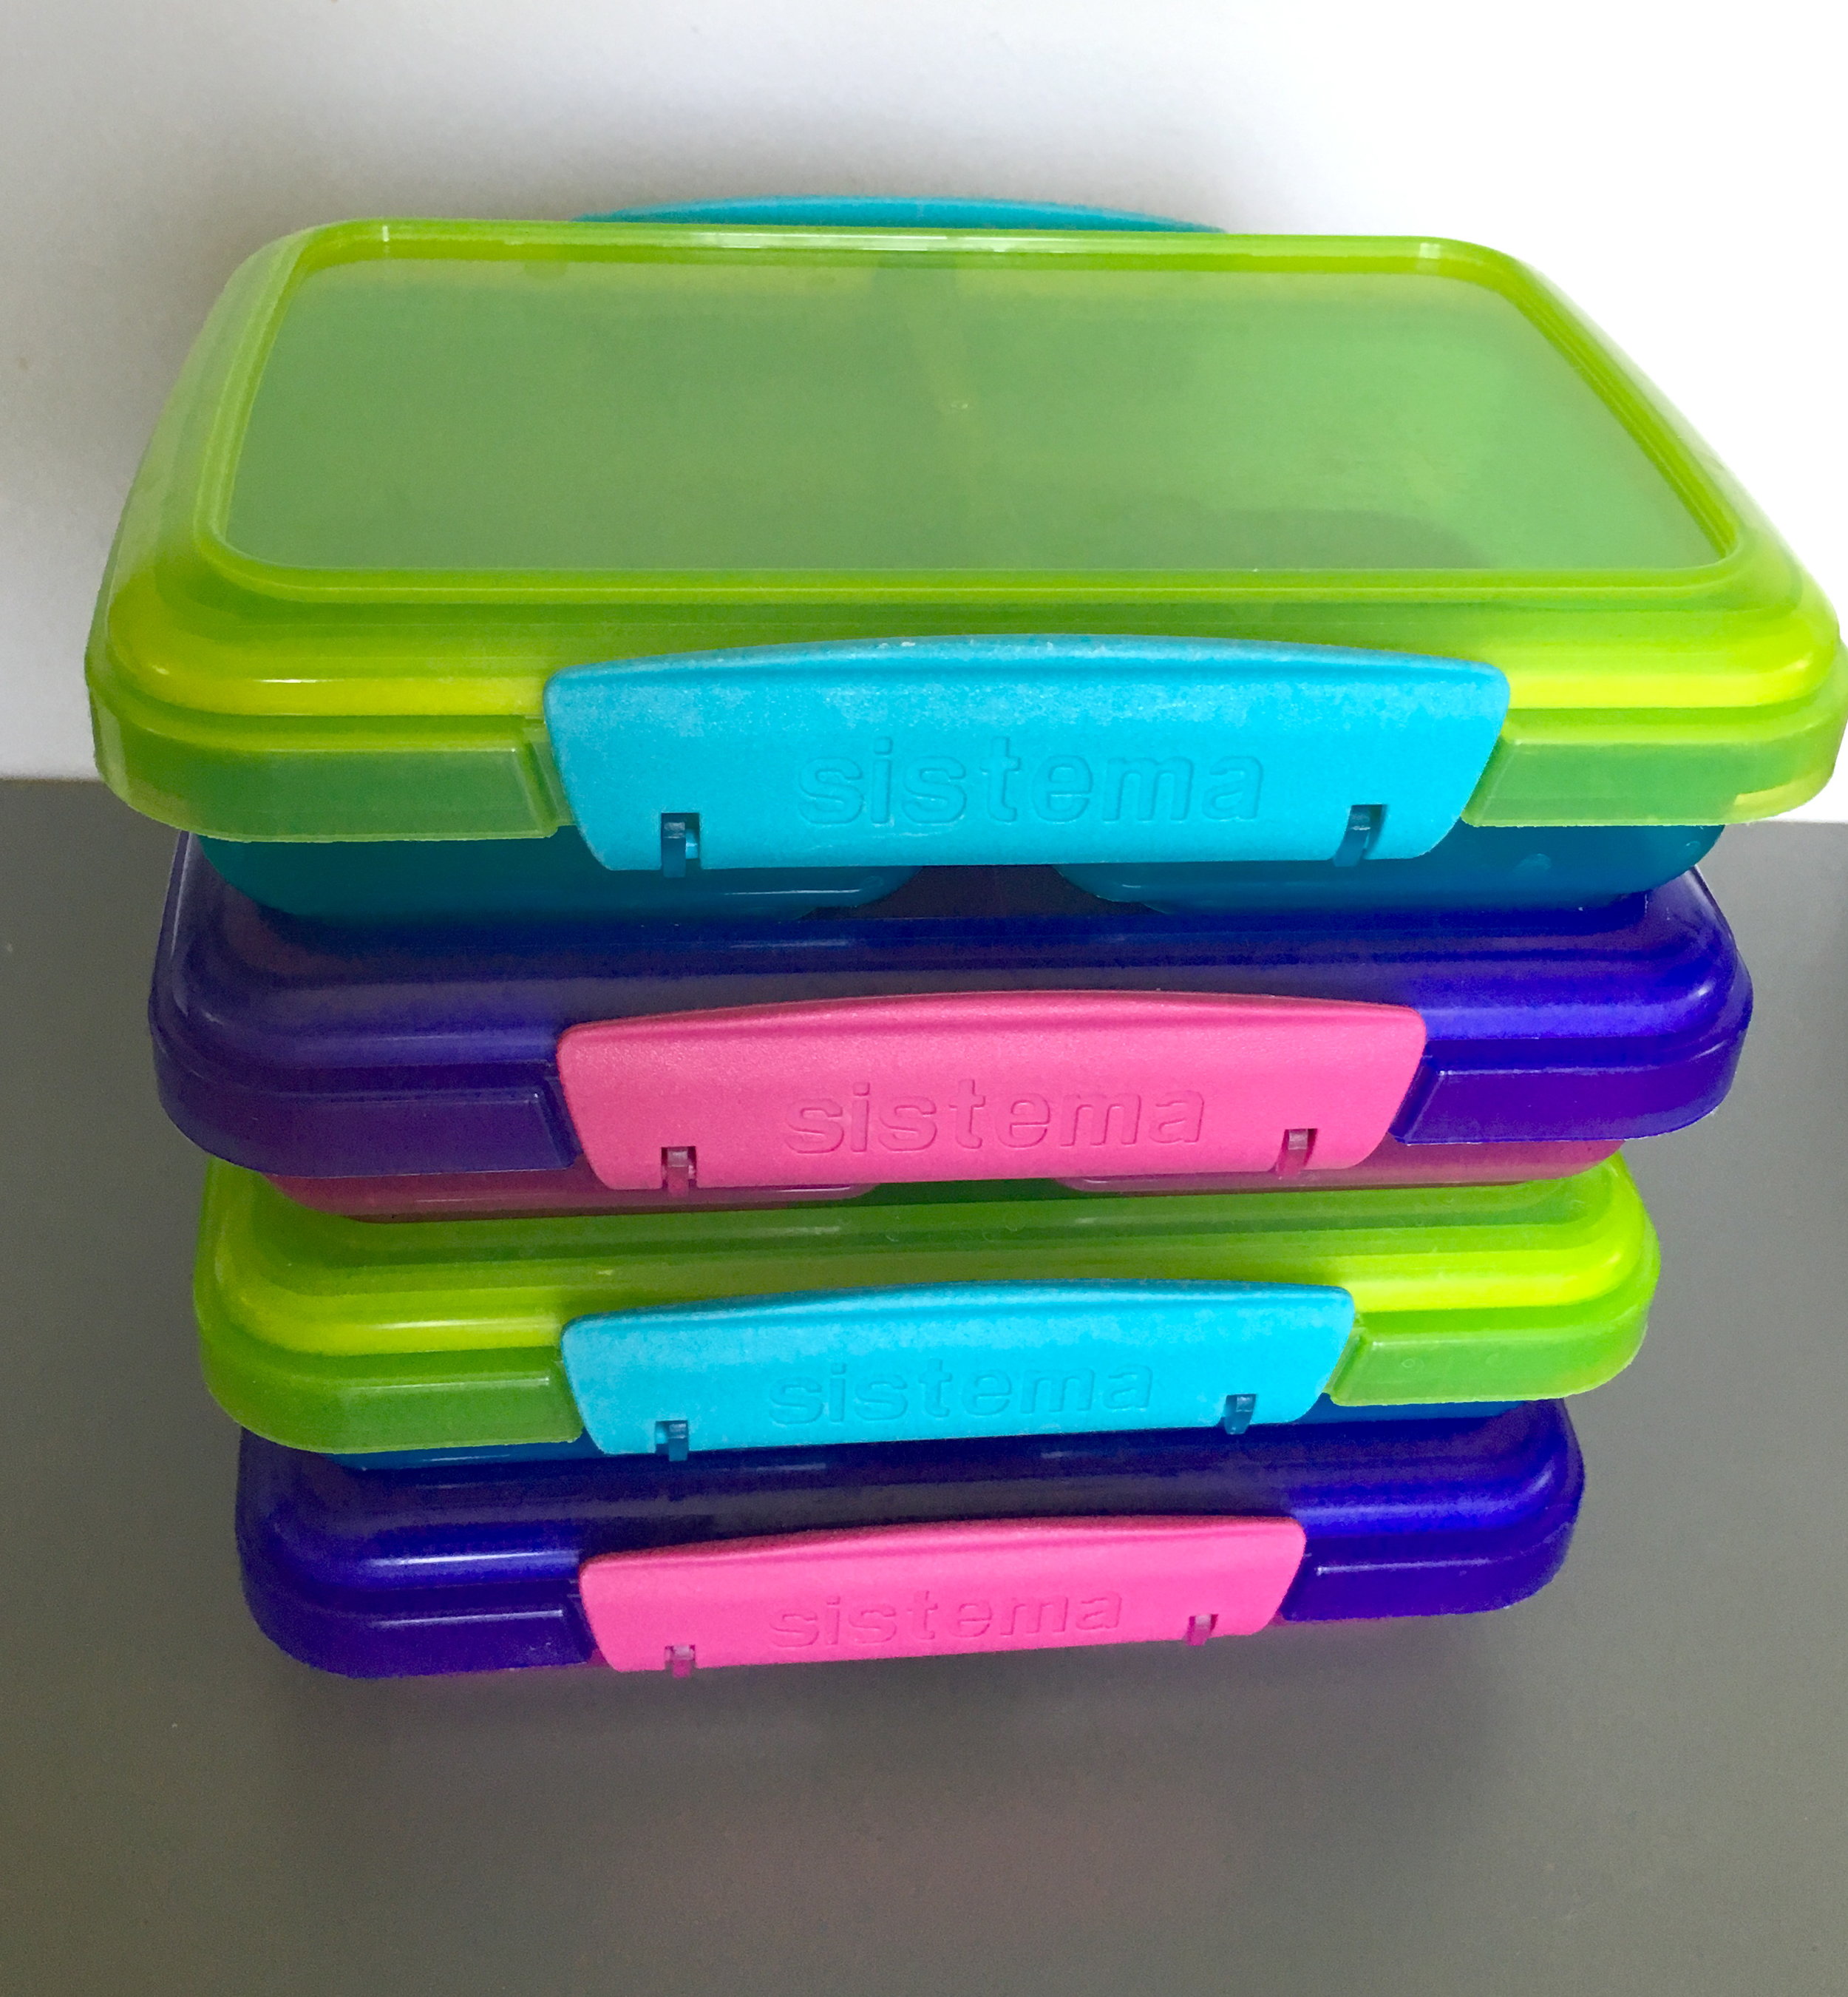
Now THESE boxes have stood the test of time. They might be 6+ years old and still are probably my favorites. Sistema lunch boxes come in a ton of sizes and shapes, and they all have these awesome heavy-duty clips that keep the box sealed really nicely, but they are still easy for kids to open. I have never had one of these clips break. These boxes also hold a nice amount of food. (Find a huge selection of Sistema here.)

This super sweet random box is another favorite of mine! Again, it has the strong side clips (on all four sides.) And that blue divider inside slides back and forth so you can move it wherever you want, which is awesome. I love Star Wars and I love this box! (I'm not sure this box is available anymore, but there are similar ones here and here.)
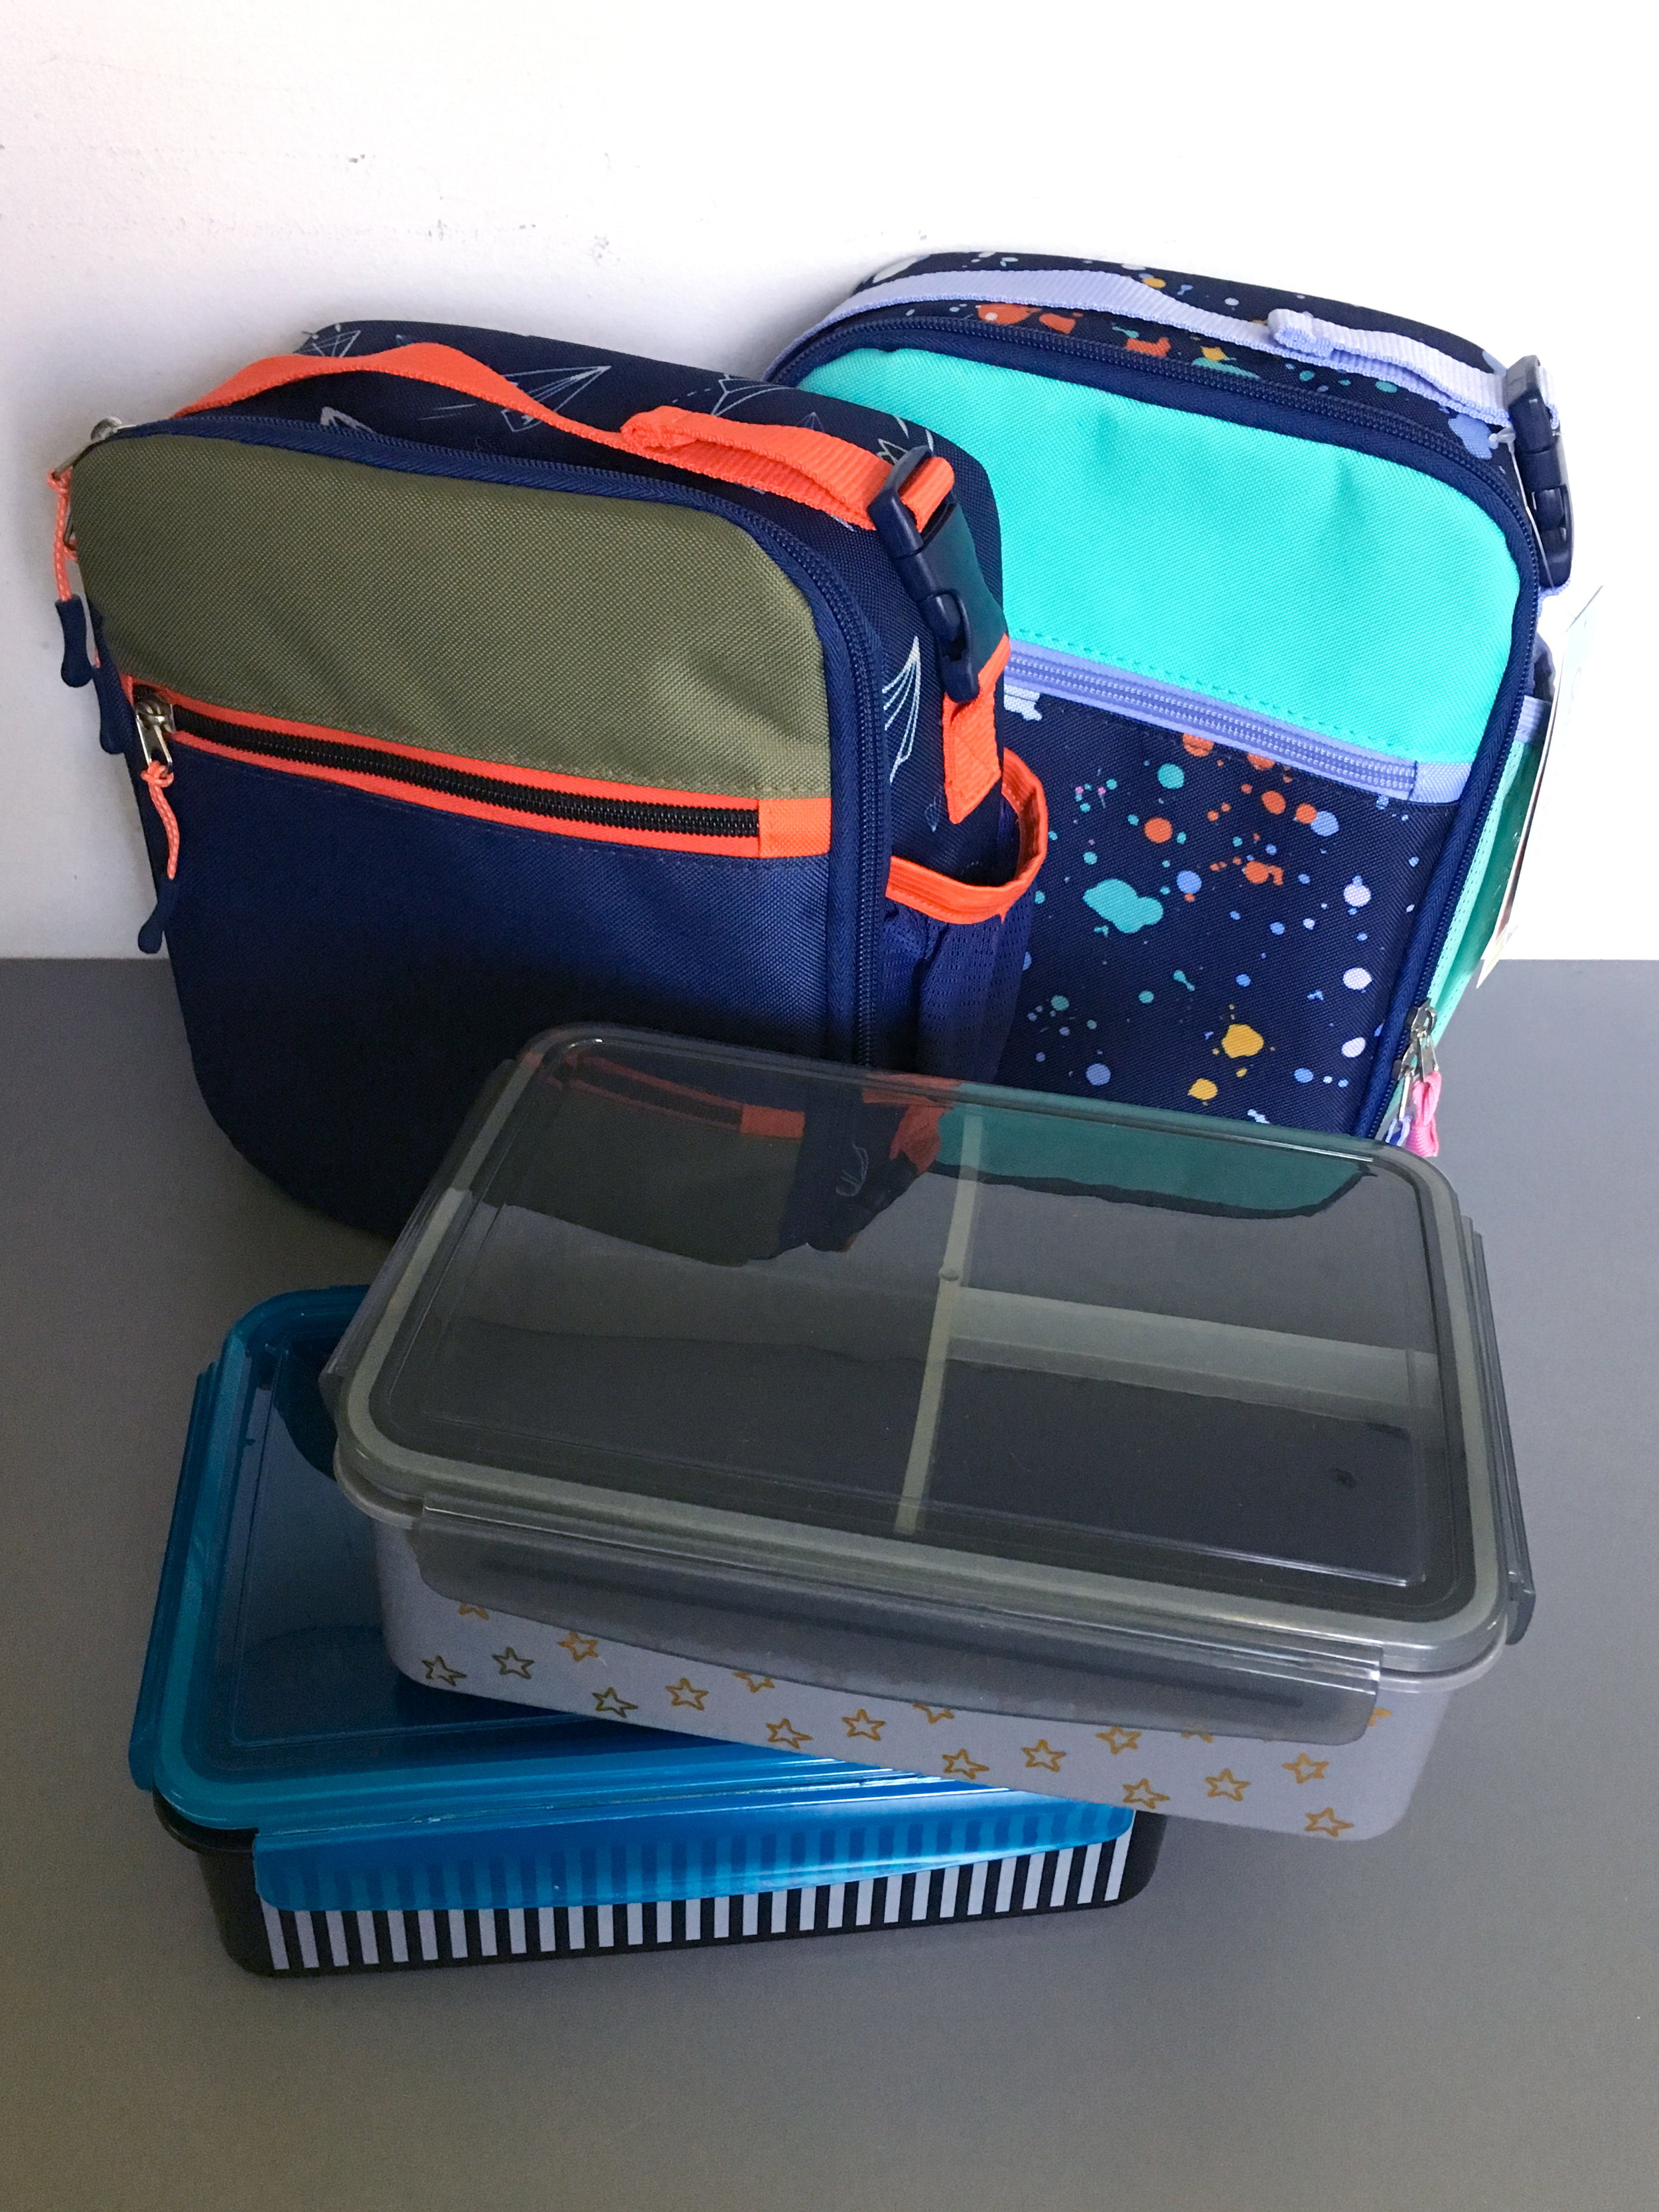
More lunch boxes! This year, Cat and Jack for Target came out with bento boxes (yay) and lunch bags (double yay) and I have been LOVING them so far. These are the perfect size for elementary kids, have sturdy clips on all four sides of the lid and the boxes fit perfectly in their bags with enough room for ice packs and a juice box. The bags also have an outer sleeve to hold a water bottle. They are just fantastic.

Another fave of mine are these rad boxes from Bentology. If you really don't want your lunch to spill all over the place, these containers will do the job. (Sometimes I only use a couple of the lids, depending on what I'm packing.) I love these colors so much too. I got the raspberry/blue set and the night/pear set. So modern and cool. These also have a nice narrow space on the side for silverware or a napkin. These outer boxes can be a bit tricky for kids to open, but if you practice at home first they will get the hang of it.
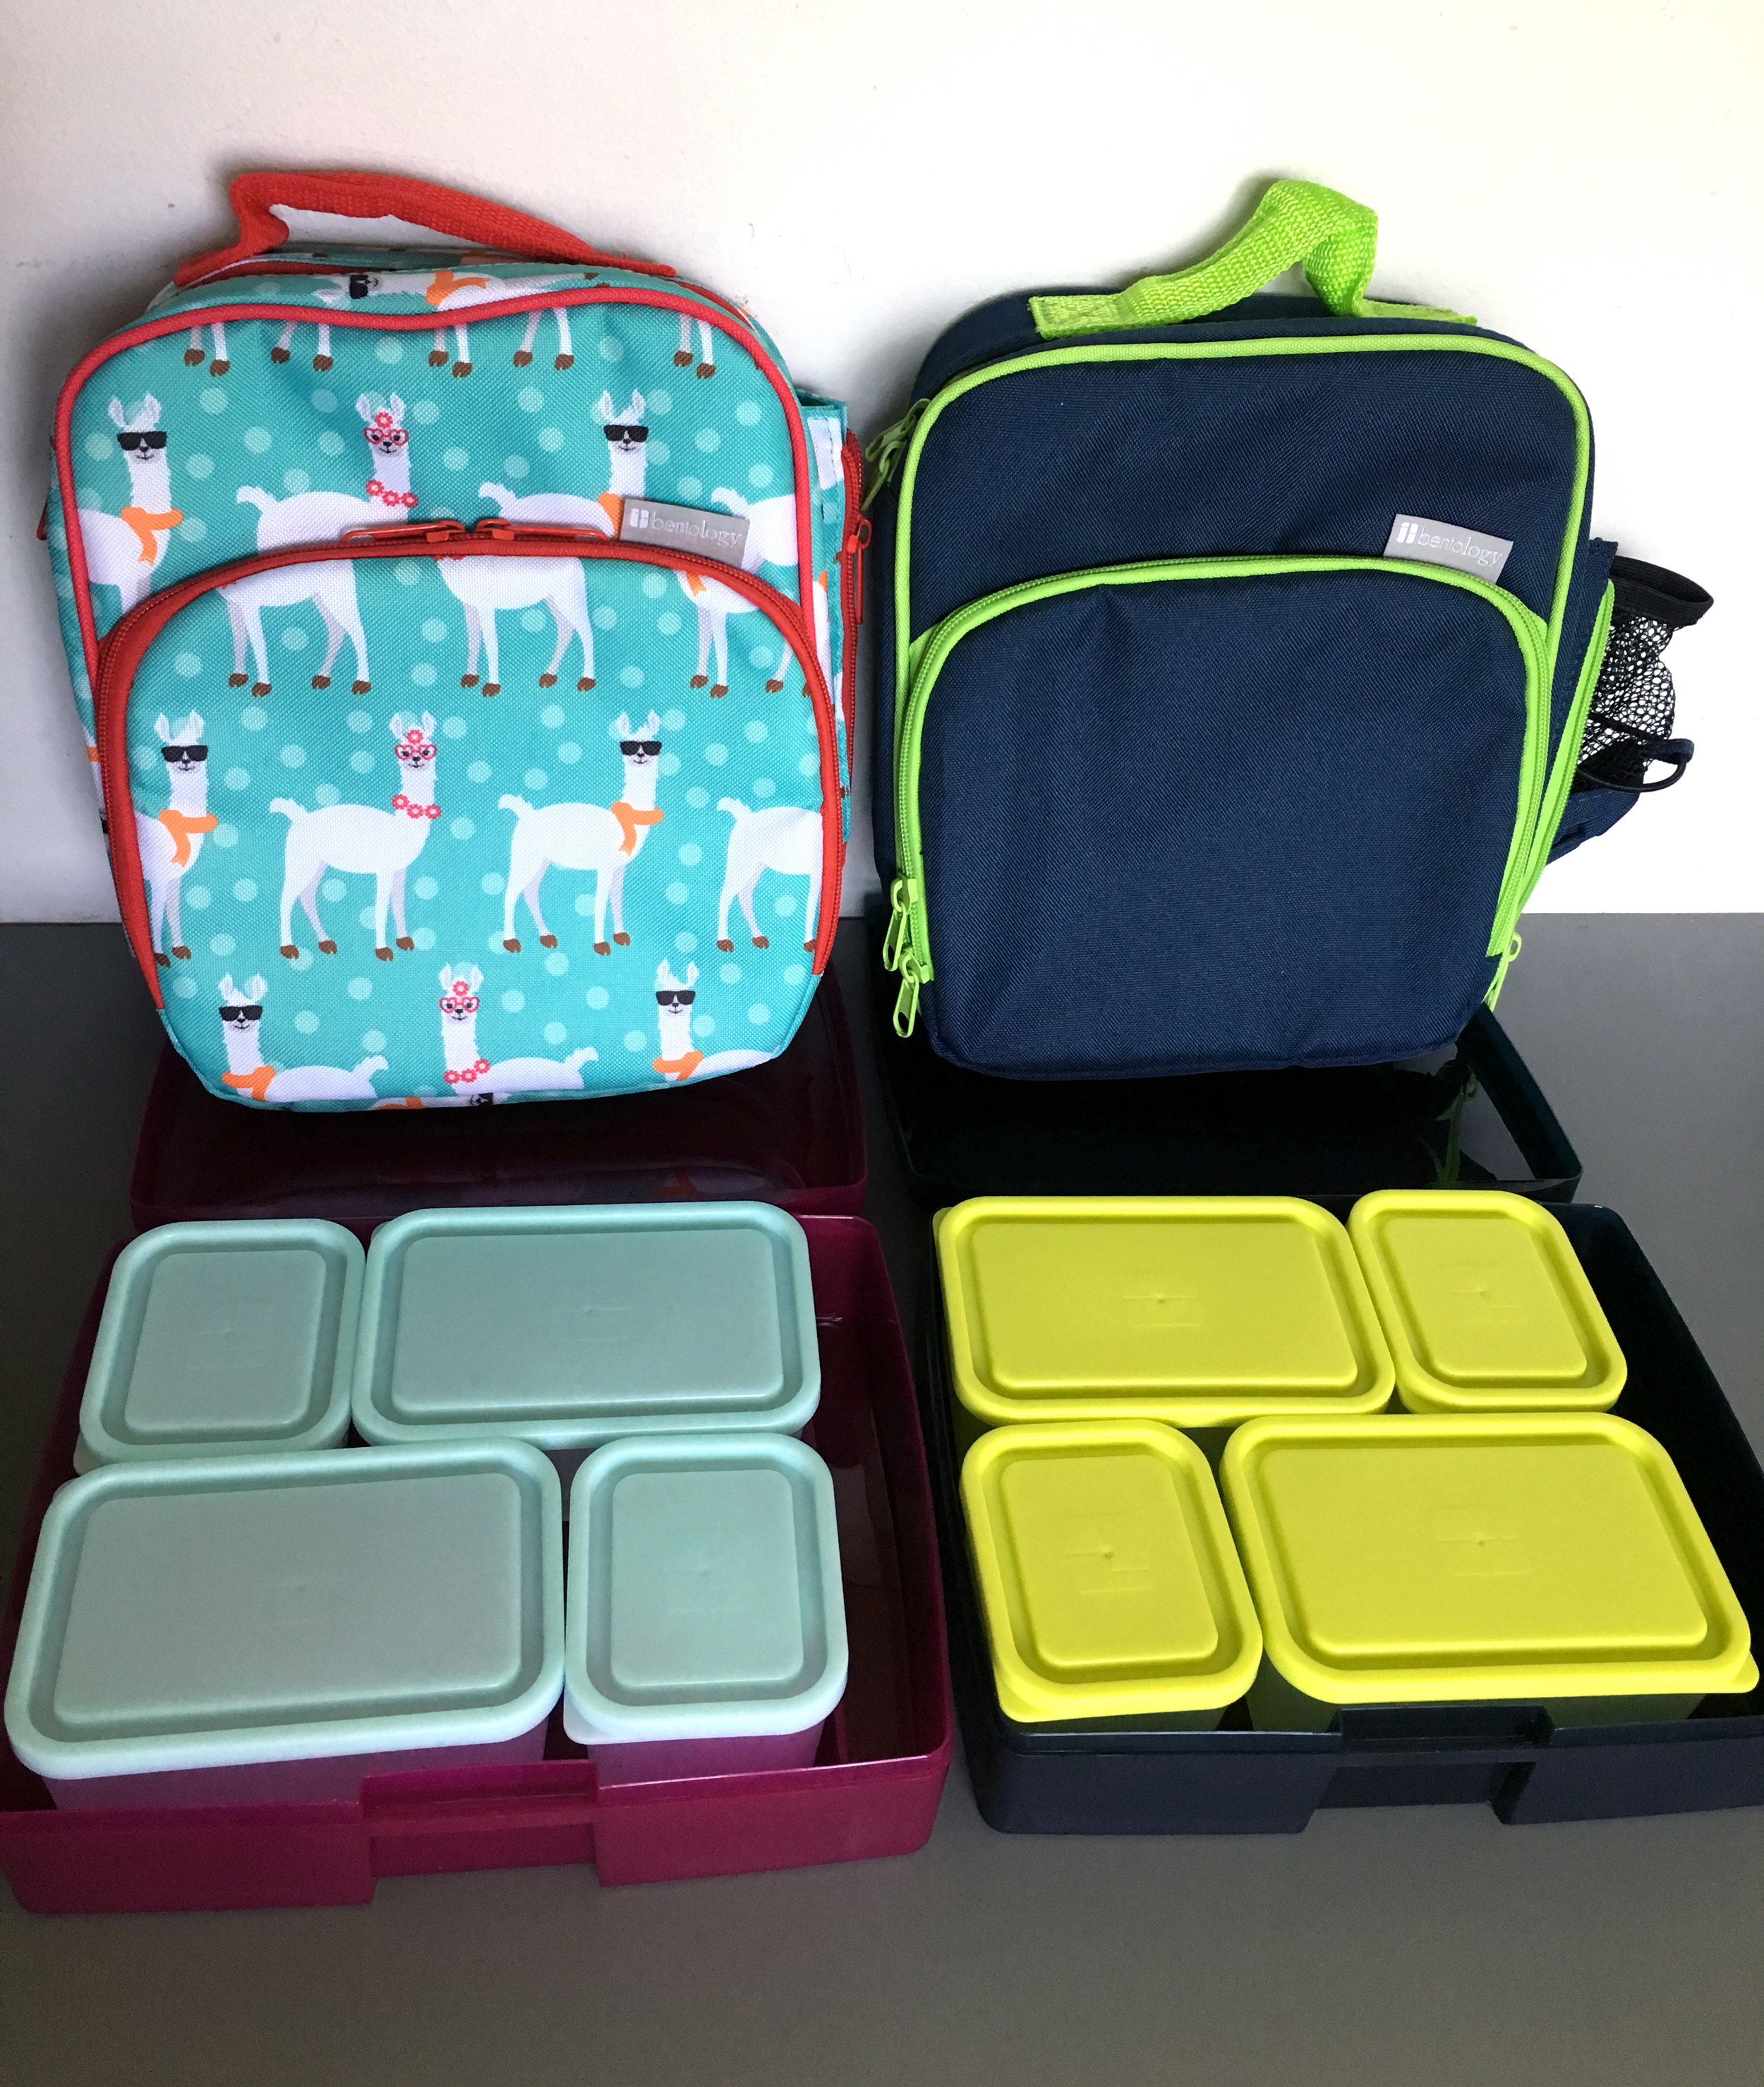
These fit perfectly in the Bentology lunch bags, which I also love (and like the Cat and Jack bags, they too have a side compartment for a water bottle, which is so smart.) These boxes and bags are almost the same size as the Cat and Jack ones, so you could put a Bentology box inside a Cat and Jack lunch bag.
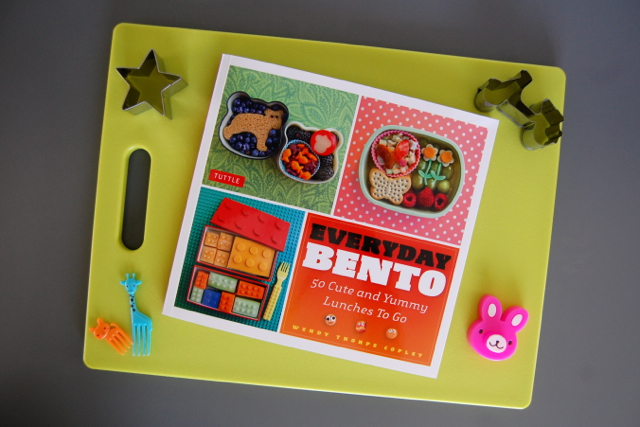
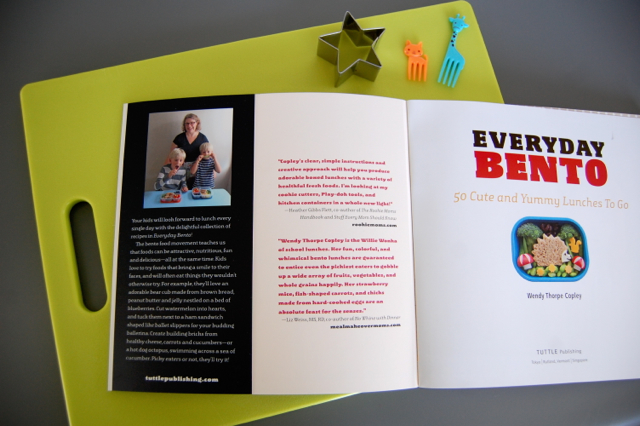
If you're wondering where I learned all of this, check out the book 'Everyday Bento' by my friend Wendy Copley of Wendolonia. I've followed her and her lunches online for years and everything I know I learned from her. (Get this book.) Another favorite? Bento USA. (But beware ... you'll want everything you see there. Don't say I didn't warn you.)
And there you have it – some of my favorite and most-used bento boxes and supplies that I have collected over the years. Do you need all this stuff? Absolutely not. You can totally start with what you have – all you really need is a knife, containers with with plastic lids, maybe a few cookies cutters and your imagination! Can't wait to share more throughout the school year – let me know if you have any questions!
(Want to see more? Read my other bento posts.)