birthday

party x 2 by jen geigley

Our house has been a party house lately. Check these two out, doing the birthday party thing x 2. Their birthdays are both in February, so we had a family party for both of them on the same day.
 Bowie's first birthday cake was Vespa/scooter themed. Which is no surprise if you know our family.
I found a scooter cookie cutter here and made little fondant cut-outs for the top of his cake. I used Wilton rolled fondant for all of the shapes and layered them on top of buttercream icing.
Lo's cake and cupcake theme was LaLaLoopsy, once again. (Check out this post if you want to see her other LaLaLoopsy party with her friends.) I sort of attempted a 'his and hers' cupcake stand.
Lo's pink/chocolate cupcakes had striped paper straws with LaLaLoopsy pencil toppers on top. So easy and super cute.
Bowie's cupcakes were topped with the same striped straws and little paper flags.
This simple felt 'happy birthday' banner from the Spritz party supply line at Target. I can see myself using this for years to come – the bright colors will go with any party theme!
I made a quick garland out of painted clothespins and Bowie's monthly pics from his first year and hung them over our fireplace.
And just like that ... they're both a year older. Happy birthday to my babies. I love having these parties for you (and I hope you love them, too.)

Lo's LaLaLoopsy birthday party by jen geigley

Last weekend, we celebrated this sweet girl's birthday with a LaLaLoopsy party. It was way fun.
We had her party at Menchie's Frozen Yogurt, one of her favorite spots in town.
And what a fantastic spot to have a party! Everything was set up so nicely for us in the party room, and I love the awesome wall mural. We brought some of Lo's LaLaLoopsy dolls to use as decorations. Want to see some of our LaLaLoopsy party ideas? Here's what we did.
My new favorite party supply is striped paper straws. These made fantastically easy and colorful cupcake toppers. We used these paper punch-out circles on cupcakes for Lo's party at school.
And then I used paper straws again for her party with these LaLaLoopsy pencil toppers.
The pencil toppers fit perfectly on the straws and looked super cute on top of the cupcakes.
I also used a few of the little animals on these spools that I wound with yarn as table decorations.
 For party favors, we made a bunch of beaded necklaces out of the Loopsy pencil topper heads. 
These were a cinch to make. I bought a couple of packages of tiny screw eyes at the hardware store and screwed them into the top of each LaLaLoopsy head to make them stringable. And voilà.
The striped party favor bags are from the Spritz party supply line at Target. I stapled the bags shut with bright-colored pieces of ribbon and covered the staples with big plastic buttons.
And the cake! Oh wow. Let me just say that I didn't even really have a plan for this cake. Lo asked me months ago for a big LaLaLoopsy head on her cake. And up until the night before the party, I really had no idea how I was going to do that. So this was an experiment that with a little luck ended up looking pretty okay! I made a cake in a round 8" pan and frosted it with regular blue buttercream frosting. And then I got to work with the fondant. This part always scares me (and maybe fondant intimidates you, too) but it's a lot like play-doh. I used Wilton ready-to-use fondant in a variety of colors, a cutting board and a knife. With some patience and Lo's doll sitting next to me on the counter for reference, I cut and molded the shapes I needed and pieced them together on top of the blue buttercream. It was a labor of love.
I found this Wilton fondant/gum paste mold and it was perfect for making the ribbon, rick-rack and button trim for this cake.
Anyway, back to these sweet girls at Menchie's. They had fun.
 And Menchie even made an appearance! So cool.
Of course, this was the whole point of having the party at a frozen yogurt shop. What little girl doesn't like to pick out her own toppings?
The Menchie's staff was so awesome to us.
Not only were they super nice and helpful, but they hooked us up with coloring pages, balloons, yogurt swirl hats and all kinds of cool stuff.
 Make a wish!
Serious fun.

Party details: 
•  party dress - MishaLulu
•  beads - Michaels, Hobby Lobby and Sprinkled Pink on Etsy
•  LaLaLoopsy pencil topper set (for necklaces and cupcake toppers) - Amazon
•  doll stands - Michaels
•  cupcake topper 2" circle printables - LaLaHeaven on Etsy
•  party favor bags - Spritz party supplies at Target
•  striped paper straws - Spritz party supplies at Target
•  buttons and ribbon - Michaels and JoAnn Fabrics
•  fondant for cake - Wilton
•  fondant mold – Wilton
•  party held at Menchie's Frozen Yogurt shop

FIVE by jen geigley

She's five today. My Groundhog Day girl. Last night, we dug up videos from the day she was born. And the three of us sat and watched in disbelief. It was like seeing life in reverse; noticing how her face looked so much like her, even in the very first hours after she was born. That cry and that little face ... it was so her and we didn't even know it yet. It's hard to explain but it's never been so clear how time plays tricks on you and all of a sudden, your baby turns five. We've all come so far since then and I can't believe that in the next week or two, another baby will be joining our little family. Almost exactly five years later. Wow.
So here she is; my five-year-old. She loves drawing and making books, watching Phineas and Ferb, playing drums, dancing to songs from Yo Gabba Gabba, eating grilled cheese sandwiches, and is a fan of anything and everything pink. Happy birthday, my girl. Thanks for being pretty much the coolest kid ever. We didn't make you that way – you just are.

Lo's ballerina birthday party by jen geigley

Over the weekend, we celebrated little Lo's 5th birthday with a ballerina party. Looking at these photos, it definitely hits me that she's growing up so fast. I know that everyone says the same thing about their kids; time goes so fast, they grow up so fast. But I cannot wrap my mind around the fact that it has been five whole years since she was just a tiny baby, entering our world. She has grown up so much!
 
In honor of this most special occasion, we had a small group of Lo's girlfriends over for a ballerina party. There was lots and lots of pink, tulle and girly tutus everywhere.
There were pink treats.
And a cake fit for a ballerina.
I made lots and lots of pink tulle puffs to use as garlands and cupcake toppers.
And we had pink ballerina goodie bags.
There were pink cake pops.
Pink number 5 cookies (made by Grandma Carol.)
And my sweet friend, Beth, made these adorable cookies to match our ballerina invites.
Lo's friends arrived wearing their tutus, ready to party.
We started off with a little crafting and made gumball necklaces.
But the party wouldn't have been complete without a little bit of actual dancing.
We asked Lo's sweet ballet teacher, Miss Aubrey, to come over and lead the girls in a little ballet fun.
Everyone loved Miss Aubrey and the girls had a blast!

 And then ... it was cake time!

So sweet to see Lo with her little pals.
Pink sweets! (Sorry for the sugar overload, moms.)
And that pretty much sums up our super sweet pink ballerina birthday party! It was so, so much fun.
We celebrated early, since my due date with baby #2 is incredibly close to Lo's actual birthday, so now I'm left looking at my almost-five-year old and loving each and every moment we spend together before we welcome a brand new baby brother into our household. It's such an exciting time to be a Geigley, let me tell you.  ;)

tulle ballerina birthday party invites (2 ways) by jen geigley

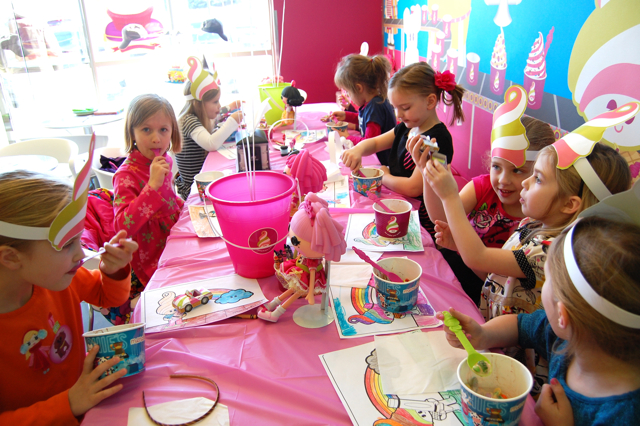
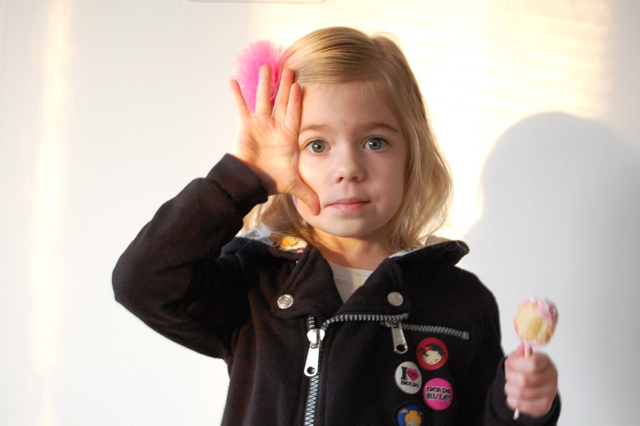
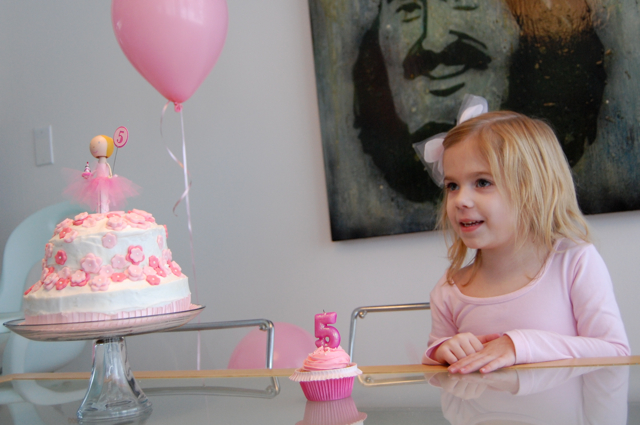
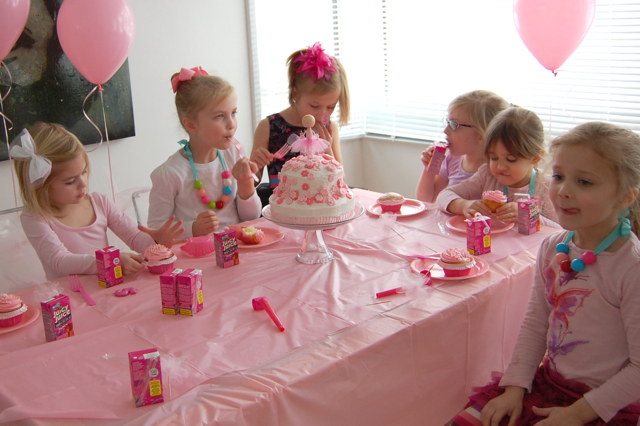
In an attempt to keep things sort of easy-going this year, we're celebrating Lo's birthday a little early with two small parties – one for her little girlfriends and another for immediate family. (My due date with baby #2 is really close to Lo's birthday, so partying early is the way to go.) Lo has has fallen in love with ballet this year, so we decided to do a ballerina birthday party (with lots and lots of pink.) I had two ideas for invites, and both involved tulle. So two parties gave me an excuse to made two versions of party invites: one with ruffles, the other with tiny tulle tutus. What little girl wouldn't love these?
First up is a ruffly vertical A10 invite (which is 1/3 of an 8.5x11 sheet of cardstock.) This one is the more simple/freeform of the two invites, and even if you're not an ace with the sewing machine, you can totally pull this off. I did the layout of the text and graphics in Adobe Illustrator. (The ballerina graphics are from Cocoa Mint.) Then I punched two holes on the top of the invite and tied a strip of tulle through the holes to make a little bow.
Next up is sewing the tulle ruffles. And I promise that sewing on paper/cardstock is not all that scary. I would definitely suggest a couple of practice runs on blank cardstock, however. You will want to test your machine's stitch length and tension before you start sewing the real deal. Once you have your settings figured out, lay your invite down under the presser foot and bunch up a strip of tulle on the edge where you'll begin to sew. I used strips of tulle that were 4" wide and about 8" long, and I folded them in thirds (the long way.) Otherwise, one layer of tulle is too see-through – it needs a few layers to show up and look 'ruffly.'
Starting with your bunched-up strip of tulle, slowly sew a single line of stitches across your cardstock using coordinating colored thread, continuing to bunch the tulle in front of the presser foot as you go. You'll be sewing right down the center of your strip of tulle to make the ruffle, and the tulle will fluff out on each side of your stitched line.
Trim off any extra tulle when you get to the opposite edge. Trim the threads hanging off each side, and also on the back of the invite. That's it! Quick and simple.
The second invite (for the little girls' party) involves making a tiny pink tutu. I just loved making these, although I'm not all that fantastic at sewing and it took some trial and error to find the best way to make tiny tulle skirts.
Again, I started with a ballerina graphic (from Cocoa Mint) and text similar to the first invite. The fonts, if you're at all curious, are a combination of Futura and Giddyup.
These invites fit an A6 envelope, and I measured my tulle according to the size of my ballerina's skirt. Again, I used strips of tulle that were 4" wide and about 8" long.
This time, you will once again fold the strips in thirds the long way, making a nice triple layer of tulle. Then, sew along one of the long sides, 1/4" from the edge. Do not cut the threads hanging from each end of your tulle strip.
Take one of the tail threads from each end of your strip and pull. (There should be two threads on each end of your strip. One will pull, one will not.) As you tug from each side, the tulle will gather. Keep pulling until all of your tulle puffs up into a tiny skirt, like in the pic above. It will form a ring that looks sort of like a waistband.
Take the four threads (two from each side) and securely knot them together in the back where they meet. Trim the threads close to the knot. Using a hot glue gun, make a little line of glue along the ballerina's waist and glue down the tutu with the 'nice' side of the skirt facing out. You could also try sewing these down, but I personally had better luck with the glue. 
And there you have it! Two ways to add tulle to your invitations. These could also be modified to fit other birthday party themes, or showers/weddings. But they sure make for some cute ballerinas.  :)